Can you Tile Over Tiles?
Yes, you certainly can tile over tiles, but there are factors that need to be considered before you jump straight in with your DIY tiling.
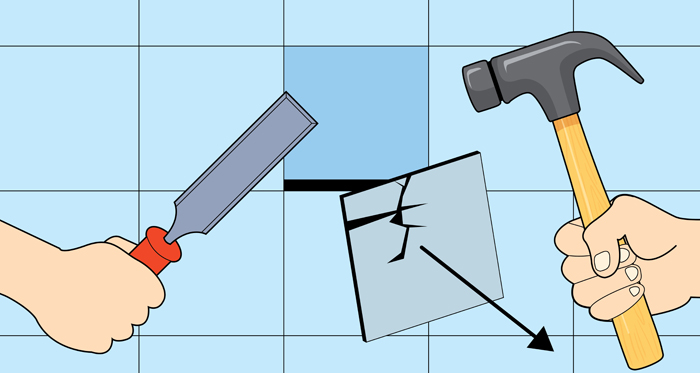
If your tiles are cracked, loose or hollow then you won’t be able to tile directly over these tiles. The damaged tiles will need to be removed using a chisel and a hammer and any old grout will need to be scraped out.
The area will need to be fully cleaned, before filling the gaps in with fresh adhesive.
Once gaps and cracks are filled you are able to tile over your existing tiles using a tie adhesive bond and fresh new tiles.
How to Tile Over Tiles Yourself
No matter the reason for wanting to freshen up your look, you can renovate your dated bathroom tiles without removing the old.
You can actually tile over tiles, which is a straightforward DIY job. Removing old tiles can be a messy and tiresome job, so this gives you the option to avoid the mess should you wish.
If tiling over tile sounds like just the project for you then please follow our step by step guide and benefit from some tiling tips to ensure you get the best results possible.
Step 1
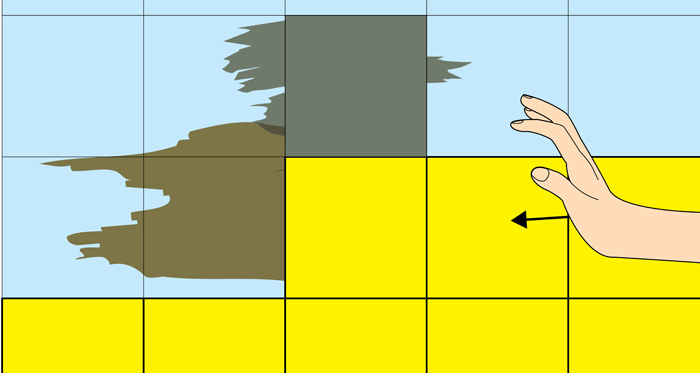
You will first need to check the current state of your wall. Start by checking if the wall is level, by using a spirit level.
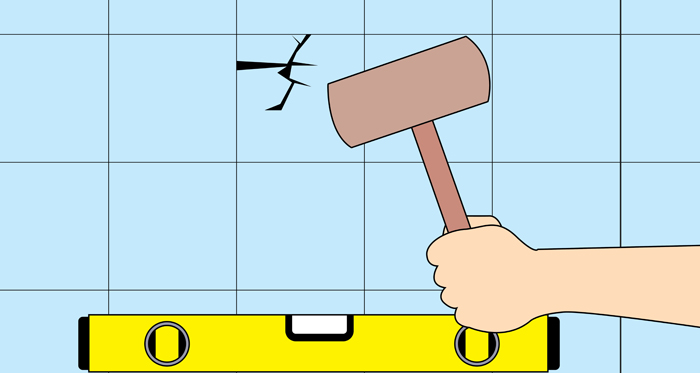
You will also want to check the tiles. A quick way to check this is by using a wooden mallet. Tap over the tiles lightly with a mallet, if you hear a hollow sound it could indicate the tile is loose.
Step 2
You should remove any broken tiles using a chisel and a hammer, ensure you are wearing gloves and have safety goggles on to protect your eyes from any sharp segments of tile.
Once the tile has been removed, scrape any remaining grout and sealant from the area. You will then need to clear any dust and dirt from the space and the surroundings.
Step 3
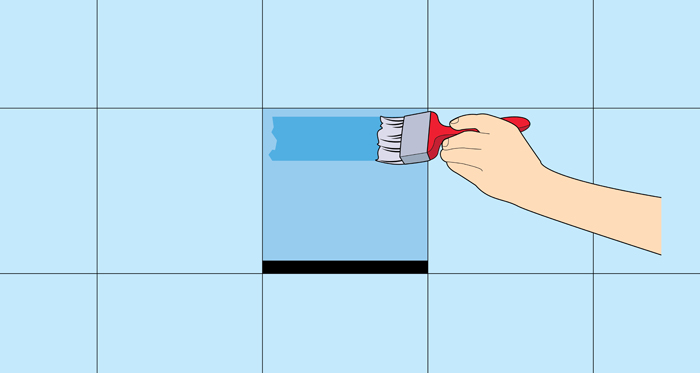
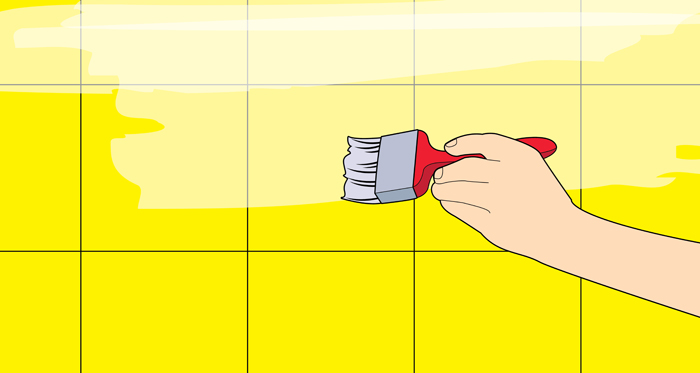
Then, apply a fast drying primer to the area using a paintbrush. Don’t forget to stir it before applying it to the area.
Step 4
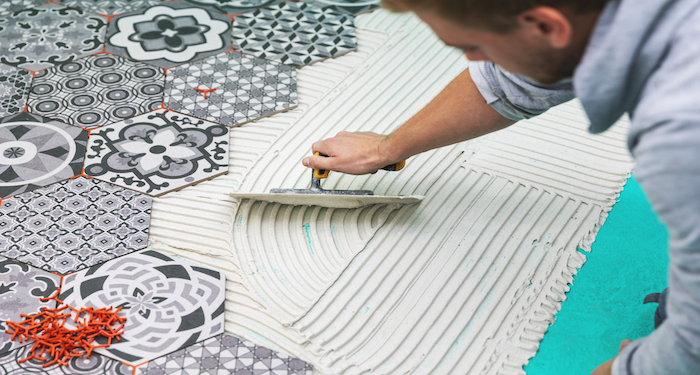
You are now able to fill in the gap with reparation mortar. Using a trowel, apply the mortar to the gap evenly. Once applied, smooth and level the surface using a large float.
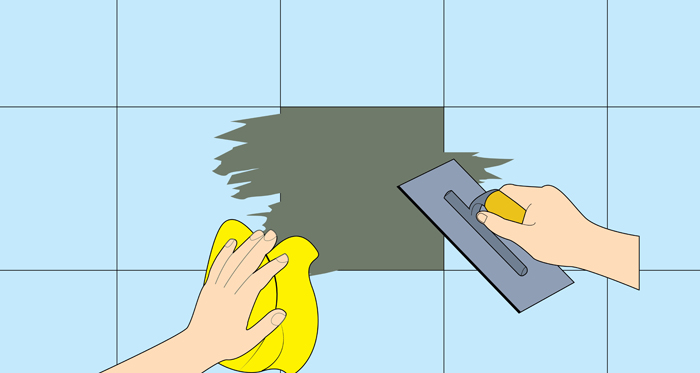
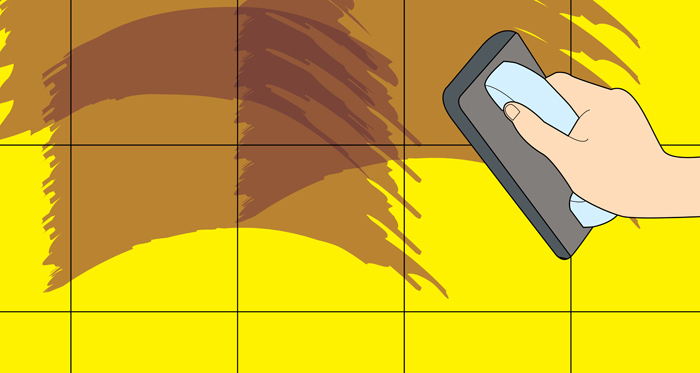
After you have allowed this to dry according to the manufacturer's instructions, you should now thoroughly clean the tile surface area, using a specifically designed tile dirt removing product, and a cloth. This will remove all remaining oil and dirt.
Step 5
Once dried, you should now apply the primer directly to the walls using a large paintbrush. Continue this until the tile area is covered.
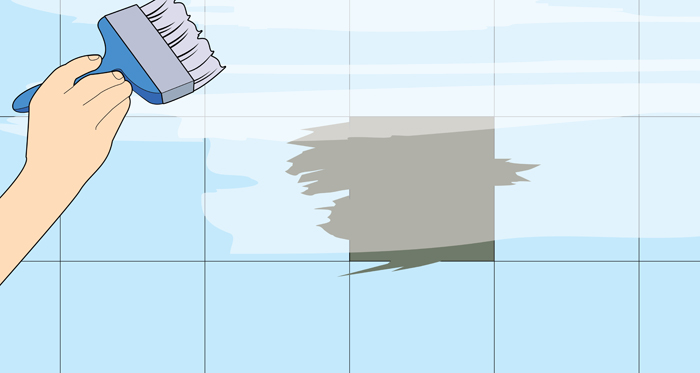
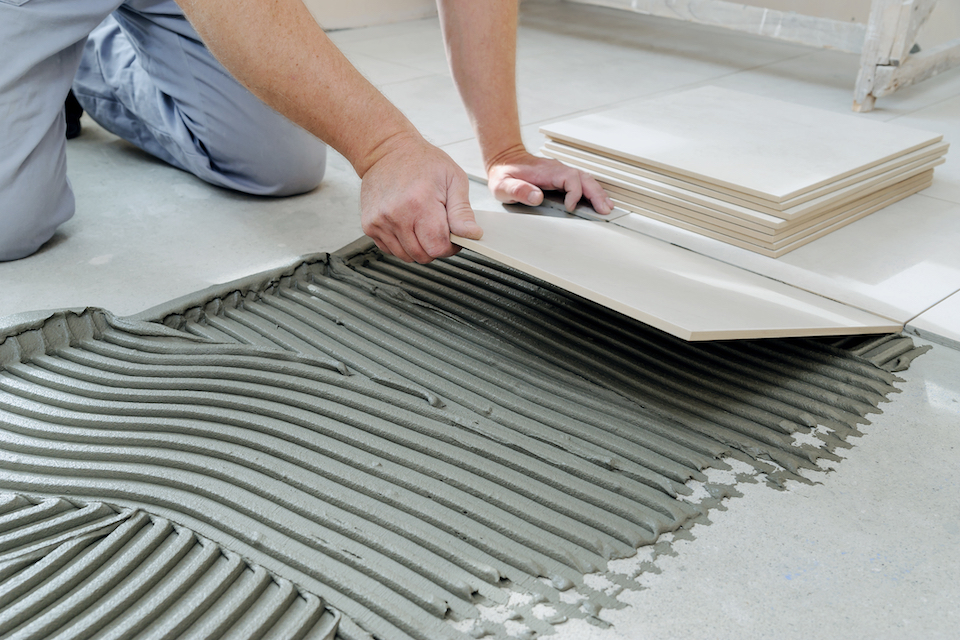
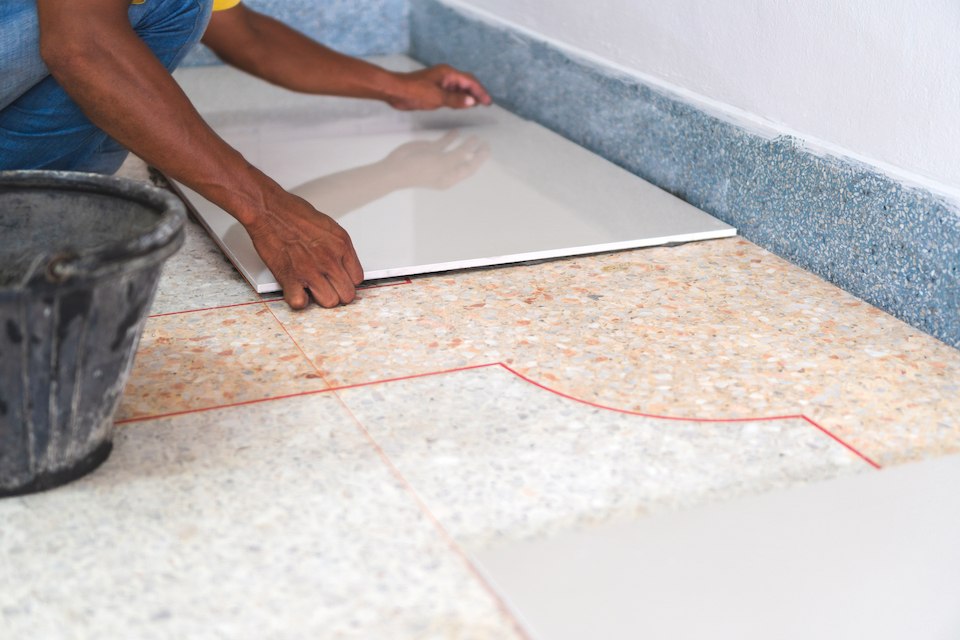
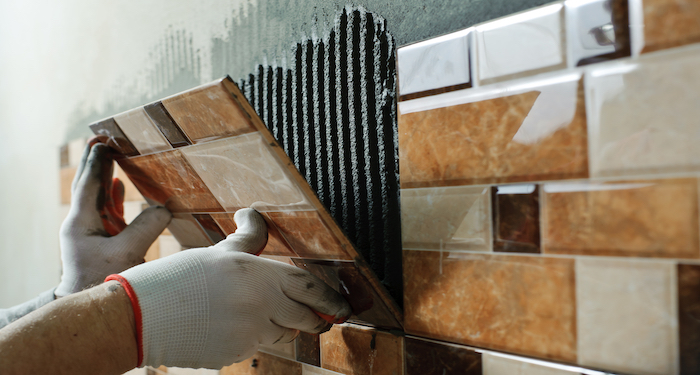
You can now begin tiling over your existing wall tiles. You will need to use a fast setting tile adhesive. Prepare the adhesive following the manufacturer's instruction on the packaging.
Apply the adhesive directly to the wall using a notched trowel. Then apply the tile to the wall, using pressure to hold the tile in place.
Step 6
Continue to apply the mortar directly to the wall in sections. Don’t attempt to cover the whole area at once, as the adhesive will dry out.
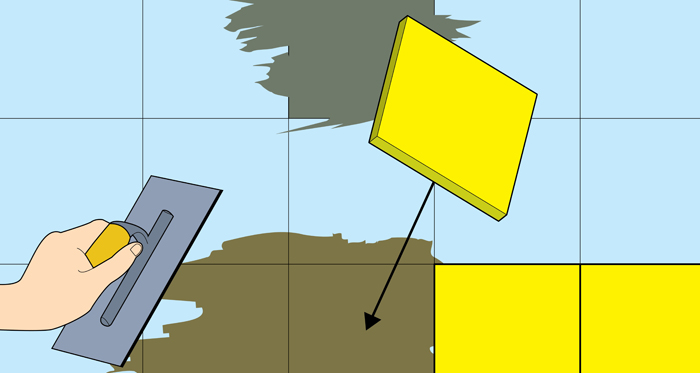
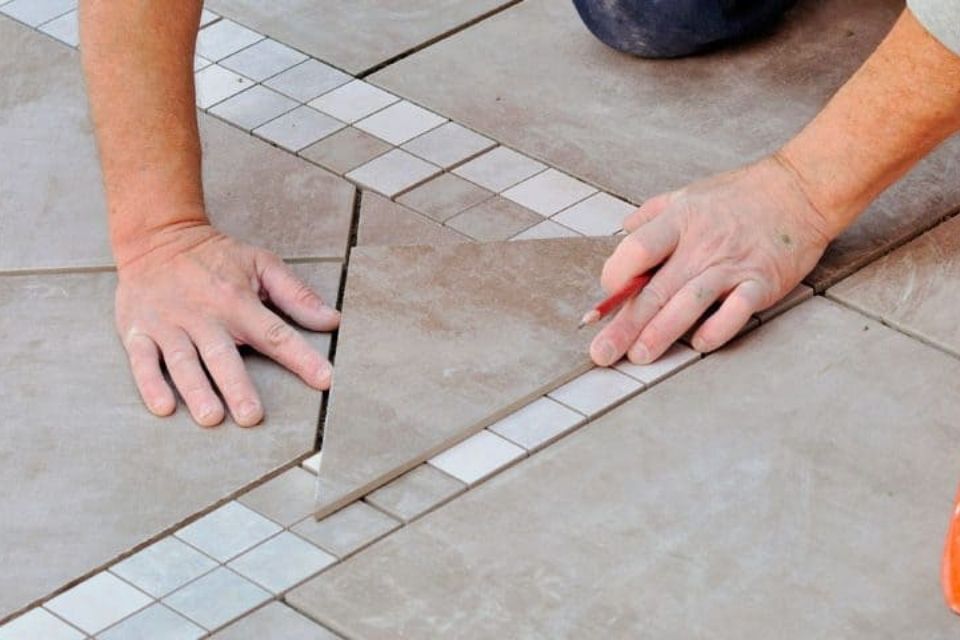
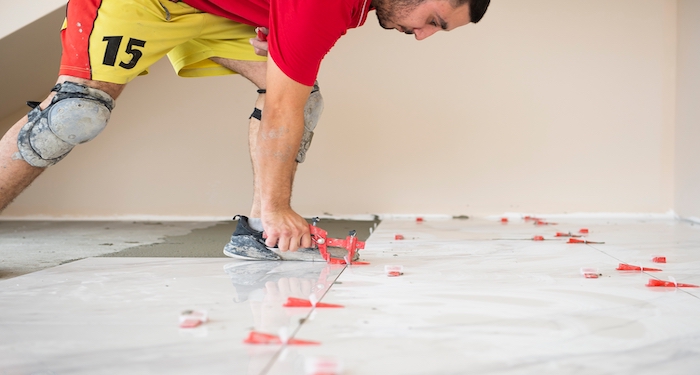
Then continue to apply the tiles to the wall. Don’t forget to leave an even gap between the tiles.
Step 7
If you are tiling over floor tiles, use a multi express adhesive mortar on the current tiles.
Apply the adhesive evenly over your current tiles, then fix the tiles into place. As this adhesive is a fast drying product, you should be able to walk on this in as little as 2-3 hours after applying.
Again, ensure you keep an equal distance between the tiles and keep checking the floor is equal by using a spirit level.
Step 8
Once the current tiles and mortar has set, you can then begin grouting. You will need to use an appropriate grout suitable for your type of tile.
Follow the manufacturer's mixing instructions, and remember to use the right ratio of mixture to water.
Use an adhesive spreader to apply the grout over the tiles and into the gaps to fill them completely all the joints.
Step 9
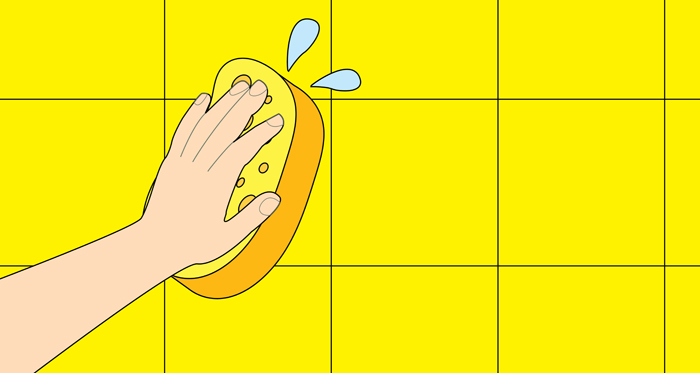
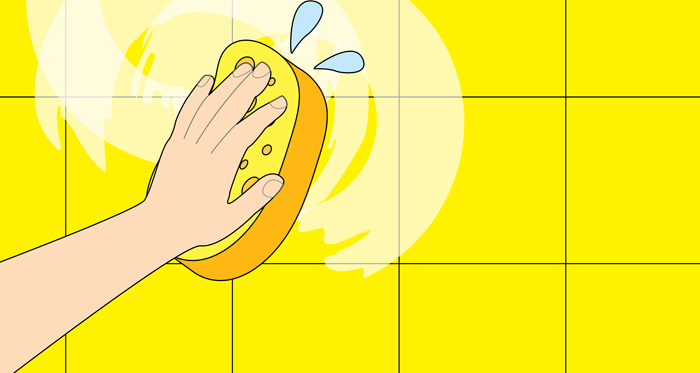
Check the grout is dry using your finger. If the grout is dry you can begin to remove any excess from the surface, using a small amount of warm water and a sponge. Use circular motions as this emulsifies the area.
Step 10
You should now clean the tiles using clean water and a fresh sponge. Use diagonal motions to wipe the surface to remove any dust created from the grouting.
Step 11
You should now seal any areas, such as the side of your bath or sink. Using silicone and a caulking gun. Prepare the sealant and set it up. You want to apply the sealant in a smooth continuous motion.
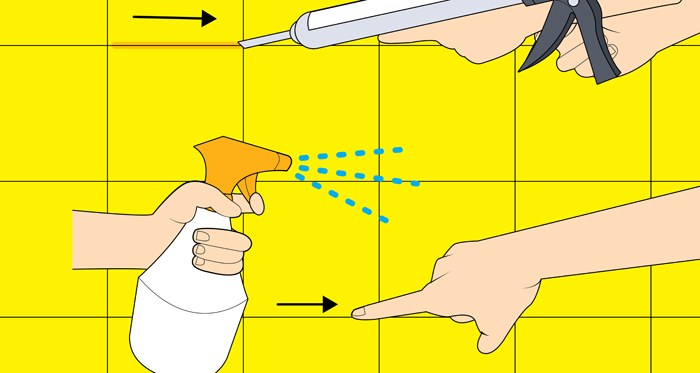
To smooth the joint, take an empty spray bottle and mix with one part water to one part soap. Spray the joints with the water, then run your finger over the joint to smooth and remove any excess sealant.
Step 12
You should now protect your grout using grout protector as this will help maintain the grout and prolong its life.
Step 13
Now clean your tiles and wipe any dust off. Before using any product we advise you check it is suitable for the material of your tile. It’s best to stick to water and a sponge as this does the job just fine.

You are now free to enjoy your new tiled bathroom.
Tools to Tile Over Tiles
You want to ensure you get best results possible. To do this, you need to gather all the right tiling tools, as this will not only give you a professional finish but it will also make the process more organised and easier for you.
You will need the following:
- Trowel
- Adhesive spreader
- Grout spreader/floater
- Grout finishing tool (shaper)
- Spirit level
- Sponge
- Metal ruler
- Cloth
- Bucket
- Large paint brushes
- Wooden mallet
- Vacuum
- Caulk gun
The above tools should be easy to source or hire from local DIY stores.
Safety Equipment to Tile Over Tiles
Tiling over tiles can be a bit of a messy task as it involves dense materials and handling of several tools. It is essential to make sure you have the correct safety equipment before you embark on your new project.
- Protective gloves
- Eye goggles
- Protective dust mask
If you are removing any broken tiles and old grout it’s crucial you protect yourself fully. Shards of old tiles can break and shatter, so you should ensure you are wearing protective goggles, gloves and a dust mask to stop any inhalation of dust.
When mixing your adhesive you will also need to be mindful to wear your dust mask and goggles to protect your face and avoid inhalation.
Materials to Tile Over Tiles
There will be a huge range of tiles to suit your budget and your design needs, so ensure you do your research and shop around to get the perfect tile for your room.
The following are also materials that you will require to install a professional looking tiled bathroom:
- Wall tiles
- Tile adhesive
- Grout
- Grout protector
- Water
- Silicone sealant
- Degreasing cleaner
Please ensure if you are using materials such as grout and adhesive from a previous DIY job that you check the expiry dates on the product before using.
How to Prepare to Tile Over Tiles
If you have decided to begin tiling on tiles, then it's crucial you fully prepare the surface correctly before tiling over tile.
Start by checking the current state of the tiles on the walls. You want to ensure they are all solid and attached to the wall securely. Should you find any gaps or cracks in the walls, fill these with cement and allow to dry.
It’s crucial that you remember to check the substrate level, if there are any high spots you should ensure you file those areas down using a grinder.
Please ensure you clean the wall surface using a vacuum to remove any grit and dust. You should then wipe the tiles down using a cloth and warm water.
You are now able to apply primer to the wall, following the manufacturers instructions coat the intended area. The primer will allow good adhesion.
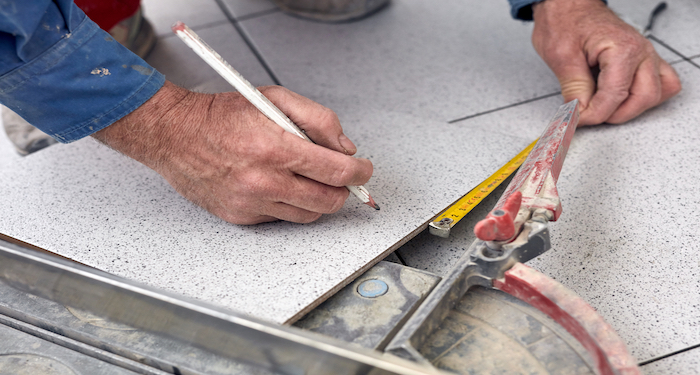
As part of this preparatory stage, you should have also calculated how many tiles you will need before you begin tiling your wall. To do this measure the area of your wall, and also the area of your chosen bathroom tile.
To calculate: Wall area ÷ area of each tile = number of tiles you will need (Please add and extra 10% to this total, as you will need to account for any mishaps or tile breakages)
It is also important to remember you will need to add gaps in between your tiles (2-3mm) as you will use this to add your grout later, so please accommodate this into your calculations.
Types of Tile
Choosing your tiles can be overwhelming as your options seem to be endless. You can choose from glass, patterned, textured, stone, ceramic and many more. So let’s explore some of the options available to you.
Let’s start by looking at the most common tile materials:
- Natural stone
- Ceramic
- Porcelain
- Glass
Usually, real stone tiles or manmade tiles are highly popular. Choose natural stone these tiles if you’re looking for a bit more character. Granite has been a popular choice over the years, but it does come with its downfalls as it can crack easily and is rather porous.
Its surface can also be scratched quite easily. You would also need to maintain these types of tiles more often than ceramic tiles, be prepared to clean and maintain these on a regular basis.
Choosing a natural stone tile comes with its pros as these types of tiles cannot be replicated by ceramic tiles. If you are looking to create an open airy feel and have a unique design accent for your room choosing natural stone would be advisable.
If you are more swayed towards man made tiles such as ceramic and porcelain, then these are ideal if you are looking to revamp your bathroom or kitchen on a budget, they also require minimal upkeep.
These types of tiles are perfect for giving you variety, style colour and size can be found to suit everyone's design needs. These tiles are covered in a glaze, protecting the tile from water absorption and also making the tiles easy to clean.
If you are tiling over tiles in your bathroom, porcelain tiles are better for dealing with those rooms with higher moisture.
Perhaps you are looking to create a statement with your new tiles, and glass tiles could be a good choice for those of you looking to create flashy design points.
Usually glass tiles come in a mosaic form and are attached in a web form which allows you to attach square feet at a time.
FAQs
Q: What is the best tile adhesive for tiling over tiles?
A: Any pre-mixed adhesives are perfect for tiling on top of tiles, we recommend looking for a non-slip adhesive such as Everbuild’s Super Plus Non Slip Tile Adhesive.
The great thing about tiling over tiles is your existing layer of tiles will already be water resistant and waterproof, so you don’t have to worry about water getting behind the tiles.
Q: What is the best tile primer for tiling over tiles?
A: We would recommend MAPEI Eco Prim Grip.
This primer is synthetic and resin based and it’s perfect for applying on highly smooth surfaces such as existing tiles. It creates a sticky surface, perfect for applying your tile adhesive to.
Q: How many tiles do I need?
A: To calculate how many tiles you need, measure the area of your wall, and also the area of your chosen bathroom tile.
Calculation: wall area ÷ area of each tile = number of tiles you will need.
Remember to add an extra 10% to this total, as you will need to account for any mishaps or tile breakages)
Q: Can you tile over tile if the base is plasterboard?
A: Tiling over tiles is something you want to consider if the base layer is plasterboard.
This is because plasterboard has a maximum weight limit (per square centimetre). If you exceed the weight limit by adding an extra layer of tiles and adhesive on top of the existing ones it could cause structural damage to your walls.
Q: Should you sand your existing tiles before applying adhesive?
A: It’s important you have a level surface before applying your new tiles and adhesive. Ensuring you have a level surface is vital.
If you have checked your existing surface with a spirit level then you should still consider using sandpaper to roughen the surface up. The rough surface will allow your adhesive to spread better and your surface will be more firm and secure.
Sources
- https://www.diydoctor.org.uk/projects/tileovertile.html
- https://www.pureadhesion.co.uk/tile-adhesive/primers-for-tiling.html
- https://www.tilersforums.com/threads/adhesive-primer-recomendations-for-tiling-on-tiles.57721/
- https://tilersplace.com/tile-primer/