Should You Reseal Your Bath?
Whether you are looking to seal your new bathroom suite or perhaps just revitalising your current tub. You can use sealant to add that instant refresh you’ve been looking for. If your current silicone sealant is looking a little drab and mouldy then it’s definitely time to consider upgrading without breaking the bank.
Your old sealant, if not replaced can cause water damage to your flooring. If your bathtub is located against a wall, then a sealant is needed, as this stops the flow of water running over the edge, getting down the side and collecting on the floor. This can lead to problems such a rotting and mould, which can cause you health problems and also a costly repair bill.
How to Seal a Bath Yourself - Step by Step
Sealing a bath is highly important, bathroom sealant plays an important role in stopping water seeping behind the bath and ultimately rotting the floorboards. Luckily, learning how to seal a bath is one of the easiest DIY tasks you could ever wish to tackle. Your current bathroom seal might be looking a little mouldy and withered it may be time to repack and reseal it.
Step 1:
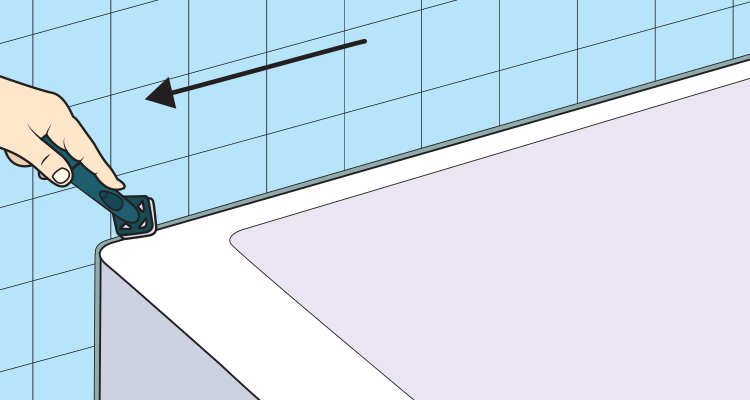
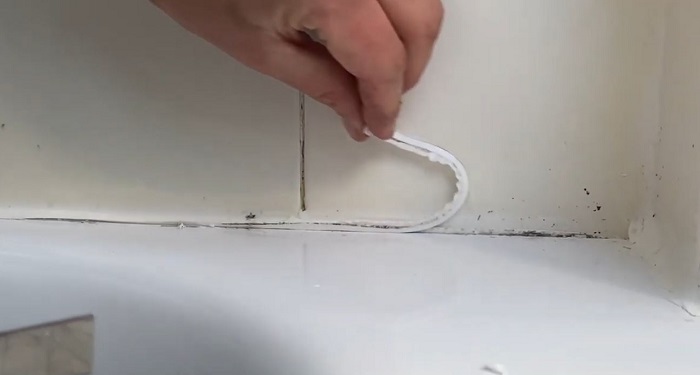
To remove the old sealant, you can either use a specialist sealant remover, or use a craft knife to scrape out the old sealant, protect your hands, and carefully cut away with the knife, then remove the excess by hand. During this stage, when using the knife, take caution you don’t scratch the surface of the bath.
Step 2:
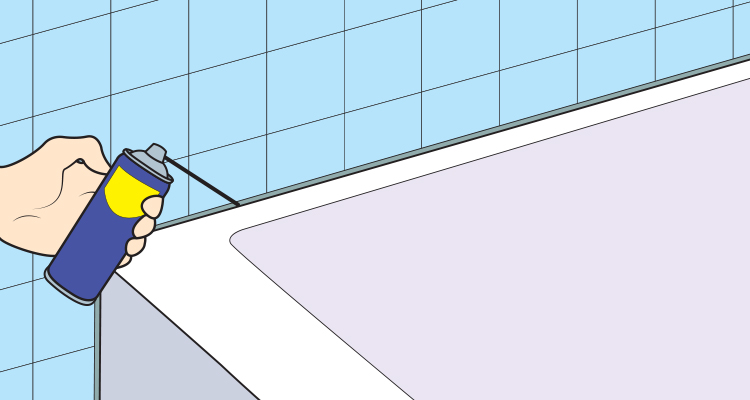
If you choose to opt for a specialist sealant remover, then, following the manufacturer's guide, pump on the remover to your current sealant. This should dissolve in no time at all.
Step 3:
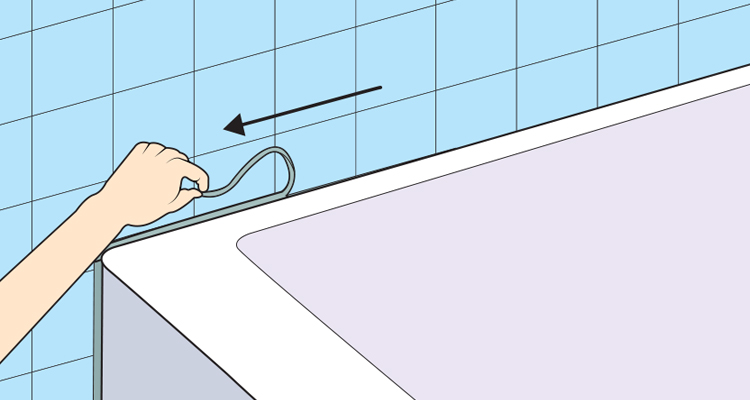
Ensure you remove all the sealant. It should be easily removed by hand. Any smaller parts can be rubbed away with your finger.
Step 4:
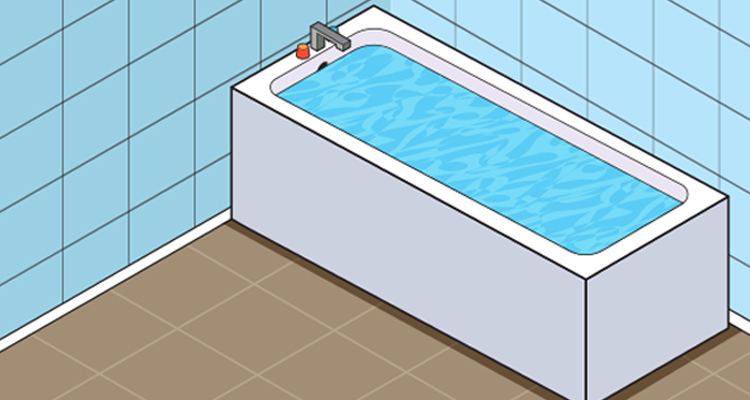
Once the sealant is removed, you will need to fill your bath with water. This is important, as you will need to weight the bathtub down, this allows you to get the bath seal in the correct position.
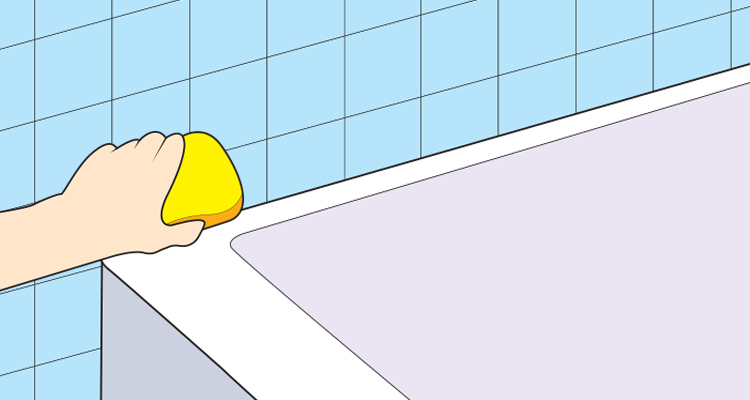
Step 5:
Before you learn to seal a bath properly, you will need to prepare the area correctly. Take a bucket and fill it with warm soapy water. We advise you use a cap full of soap and around half a bucket of water. Then use your sponge to clean all around the edges of your bath, this will remove all the grease. The area will then need to be dried thoroughly before applying any bath sealant.
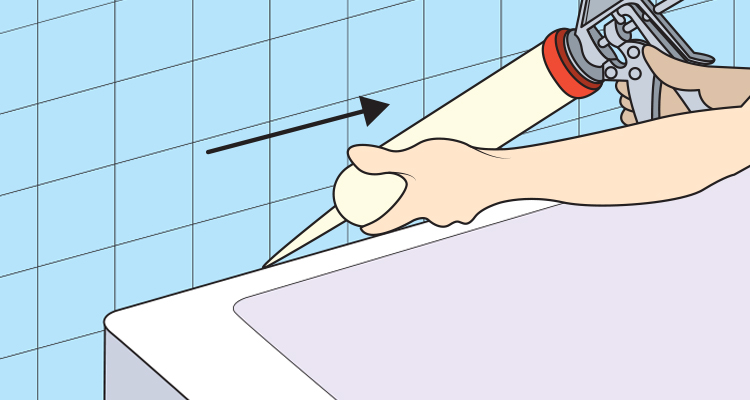
Step 6:
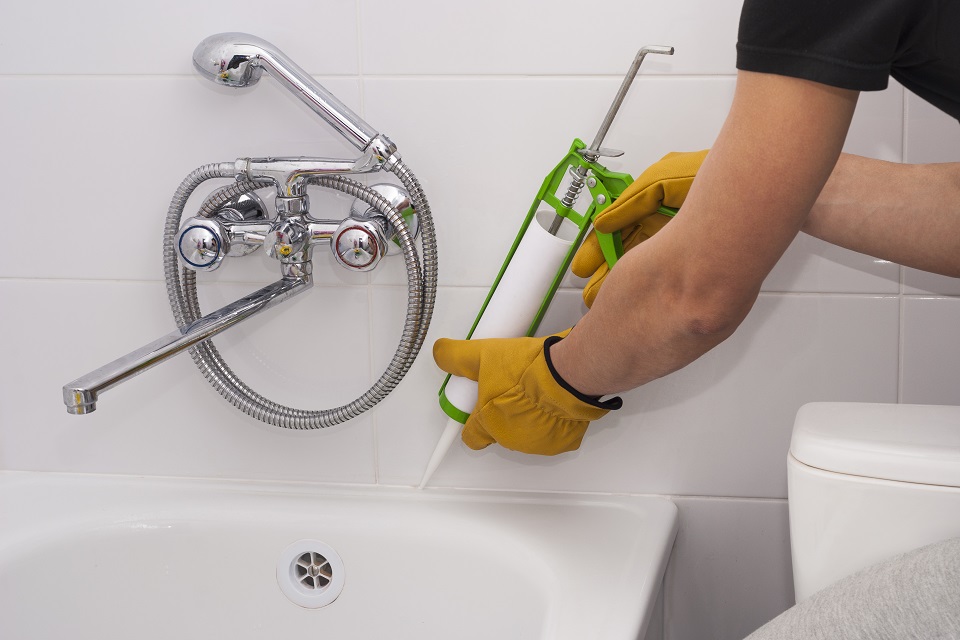
After the area is dry, take your silicone gun, and apply the beading evenly around the edges of your bath. It is key that when you use the gun, you should apply an even pressure, and steady speed.
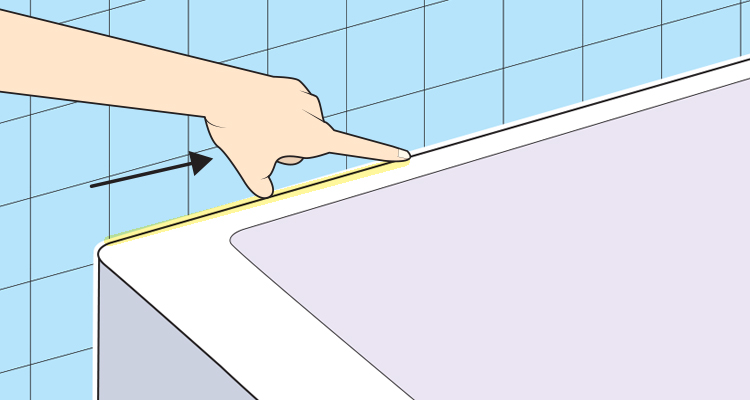
Step 7:
Take your washing up liquid and apply a small amount to the tip of your finger. Then run your finger along the silicone sealant, this will smooth the edges of the sealant and leave you with a clean finish.
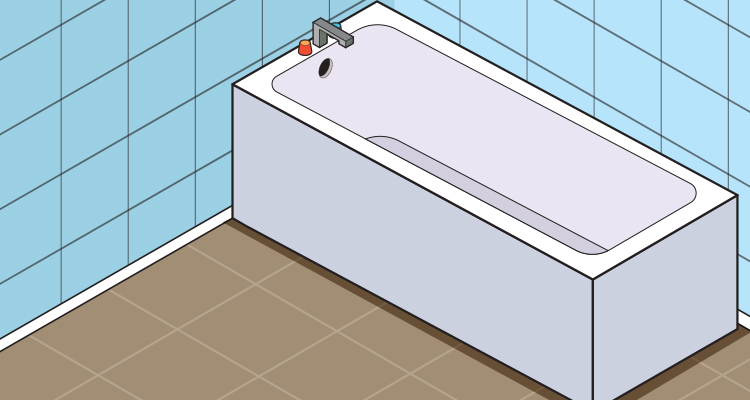
Step 8:
Leave the water in the bath, as you allow the bath sealant to dry correctly. Please follow the manufacturer's instructions for the correct drying time.
Tools Required to Seal a Bath
Using a silicone sealant around the edges of the bath, is the most common method chosen to seal a bath. In order for you to follow along with our step by step guide, creating the neatest and smoothest finish possible.
You will need the following equipment:
- Craft Knife
- Bucket
- Sponge
- Cloth
- Silicone Gun
You can purchase these items at your local DIY store or online. It might also be advisable to have a brush and bucket to clean up any out sealant during the removal process.
Safety Equipment Required to Seal a Bath
With any home project you carry out it’s always important to note that you stay safe, whether you are a first timer or not.
- You will be using a sharp craft knife, so it’s vital you protect your hands with safety gloves and safety glasses to protect yourself fully.
- When removing any old sealant, you are also advised to wear protective goggles too.
- Should you opt to use a specialist silicone sealant, you will need to use safety goggles to protect your eyes from the substance. Should you get any in your eyes please rinse out your eyes for several minutes with water. If you are wearing contact lenses, please remove. If irritation persists, please seek medical advice.
Materials Required to Seal a Bath
As well as collating the correct tools and safety equipment, a job would not be complete without the right materials. Please ensure you purchase the following materials:
- Specialist sealant remover
- Silicone Sealant
- Washing Up Liquid
How to Prepare for Sealing a Bath
First things first, you will need to ensure that you fully remove any previous sealant from the outer edge of your bath.
You will need to wear your safety goggles and gloves from this point. You can remove the sealant two different ways:
Using a craft knife
If you choose this method, take your craft or other specialist knife and dig this into your current sealant. You should then use careful motions to remove and scrape out the sealant. Please ensure when using the knife, take caution you don’t scratch the surface of the bath during the process.
Remove any excess with your hands. If you have smaller pieces of sealant residue left, rub this with your fingers and the friction should loosen and allow you to remove it.
Using a specialist sealant remover
You can purchase this remover at a cheap cost in your local DIY store. Effectively this is a gel formulation which you apply to your current sealant residue. You will need to follow the manufacturer's instructions and leave the remover for the recommended time.
Then scrape it away with a craft knife, then remove the remaining with your hands, don’t worry it’s safe to do so. Don’t forget to wash off any residue after you are finished.
Before you learn how to seal around a bath, you will need to prepare the sealant. Please follow these simple steps to learn to correctly prep your sealant into the gun:
- Gather your silicone gun/caulking gun and sealant.
- You need to release the trigger on the back of the caulking gun, press this down with your thumb. This will then cause the steel rod that runs through the gun to loosen.
- Using your other hand, pull the rod back as far as you can, or ask someone for assistance with this.
- Then place the silicone into the caulking gun, with the nozzle facing away. (Still holding the rod away for this step). Then position the sealant in place.
- Once you have the silicone sealant in position sitting correctly in the frame, you can realise the rod into the tube. To do this press the trigger again and plunge the rod back towards the frame.
- You will need to use your craft knife or scissors to cut the silicone top open. Ensure you do this carefully.
- Before attaching the head or nozzle of the silicone, cut the tip as close to a 45-degree angle as possible - this will make applying it much easier.
If you feel unsure at any point, please read the manufacturer's instructions on your product.
Bath Seal Maintenance
Luckily, once you have sealed your bath, the maintenance required is fairly low. You will need to regularly clean your sealant to keep it looking clean and prevent mould from building.
We recommend cleaning your sealant monthly to keep mould at bay.
- To clean your sealant, we recommend using white vinegar and water. Using vinegar is a brilliant cleaning material and perfect for removing any signs of mould.
- Pour one-part warm water with one-part white vinegar and pour this into a spray water bottle.
- Take an old toothbrush and scrub the sealant using circular motions. After this, please rinse with water. is an all-around cleaning agent and it’s also a fantastic mould remover.
Mould is caused by the high moisture levels in your bathroom. To prevent this, try and ventilate the room as much as you can to try and keep the bathroom dry.
If possible, use a vent or install a vent in your bathroom. If not keep a window open for 15 minutes after you have bathed or showered to air the room.
How to Remove Bath Sealant
If your bath sealant needs replacing, due to mould or general wear and tear, then you can follow some simple steps to remove it.
- You can use a sealant remover, (please read and follow the manufacturer’s guide).
- Apply the remover to the sealant for the correct amount of time, then using a craft knife scrape away the sealant. Ensuring you do this carefully, don’t scratch the surface of the bath.
- If you have more difficult areas of sealant, rub these with your fingers and pull out any sealant with your fingers.
- You will need to thoroughly clean the area using warm soapy water and a sponge. Wipe down the surface.
- Using a dry cloth, dry the area.
- The area should be dry before applying any sealant.
FAQs
Q: How long does bath sealant take to dry?
A: We recommend allowing 24 hours the bath sealant to dry. Please ensure you leave your water in the bathtub for the drying process to avoid the sealant cracking.
Q: When can I use the bath after sealing it?
A: Please leave a minimum of 24 - 36 hours before using your bath. However, in some cases this could be a longer period of time due to factors such as; the type of silicone, the humidity of the room, and the current temperature. It’s always advisable to check the manufacturer's instruction before getting any moisture on your sealant.
Q: Can you put new sealant over old sealant?
A: No, you should never apply new sealant over old sealant. Once your old sealant starts to wear away or becomes mouldy, mould and moisture will still be able to seep through and cause damage and problems. Applying new sealant over old, would also look extremely messy.
Q: What is the best sealant for around the bath?
A: We would recommend using Everbuild 500, it is quick drying, anti-aging, which means it will have little discolouration. It also has anti-mould properties (all bathroom silicones have waterproof qualities, but not all have anti-mould properties).
Q: Do you need to fill the bath when sealing?
A: Yes, you do. We recommend you fill the bath prior to sealing the bath as this will correctly weigh the bath down and prevent the sealant from cracking when you do go to take a bath.
Sources
- https://www.bigbathroomshop.co.uk/info/blog/how-to-seal-around-the-bath/
- https://siliconedepot.com/blog/how-long-does-silicone-take-to-dry/
- https://nustone.co.uk/blog/how-to/remove-replace-silicone-sealant/
- https://www.plumbworld.co.uk/blog/how-to-seal-a-bath-properly
- https://www.bhg.com/home-improvement/remodeling/how-to-use-a-caulking-gun/