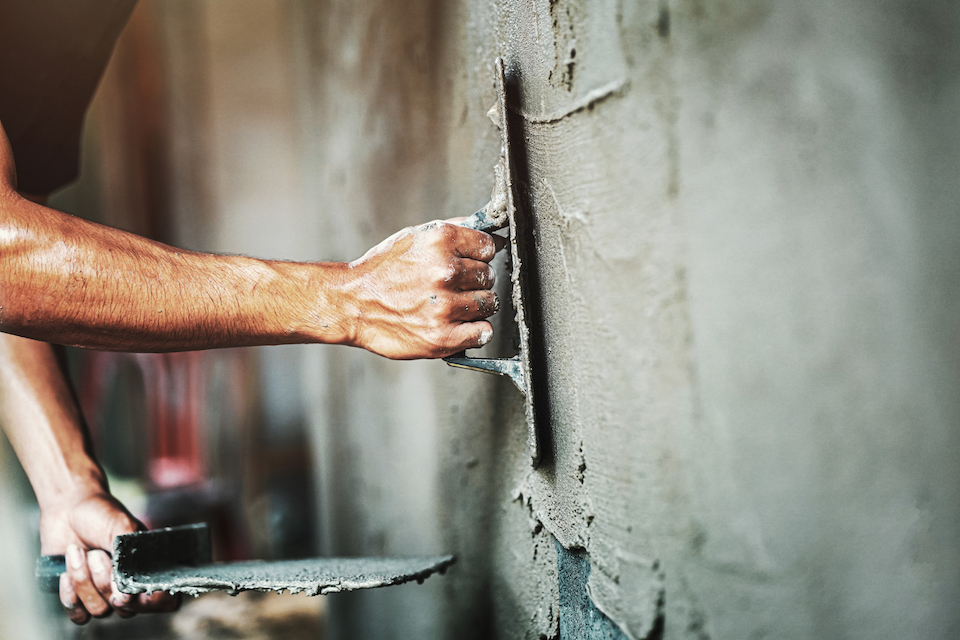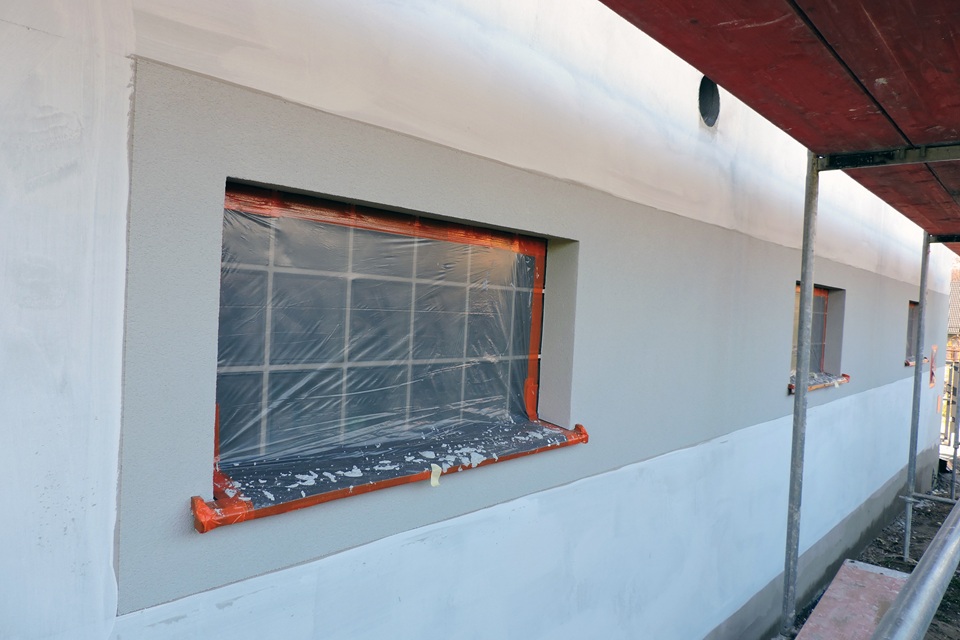
Can You Plaster Over Wallpaper?
Plastering over wallpaper is possible, however in the eyes of the professional decorators - it’s definitely not recommended. The biggest concern when skimming plaster over a wallpapered surface is that wallpaper is very dry, and plaster needs a tacky, adhesive surface to bond to.
Can You Plaster Over Artex?
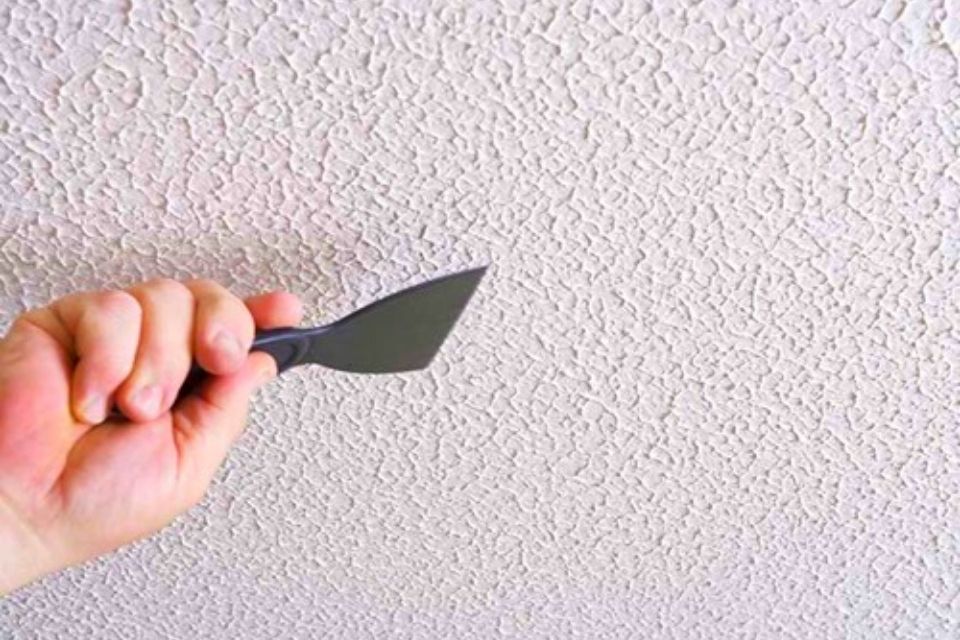
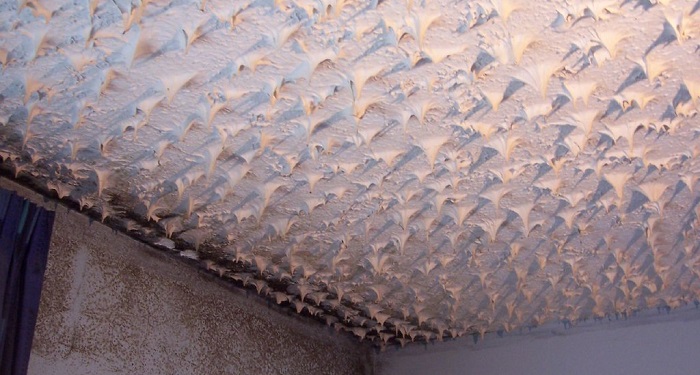
Have you ever looked up at a ceiling and been met with fancy swirls, patterns and texture? Congratulations, you’ve been in the presence of an artex coated ceiling. Artex is most commonly used for ceiling decoration, however it is not uncommon to find it on walls inside a home. Quite often, walls were given a bumpy texture to add a bit of pizzazz to a room - well, in the 70s we mean.
Artex designs are extremely dated. Back in the 1970s - 50 years ago, believe it or not - textured walls and ceilings were at the height of home decor fashion. From swirls, to spikes and everything in between. However, after hitting the 20th year of the 21st century we’re now not so keen. Artex surfaces are extremely difficult to repair, a pain in the neck to clean - and not to mention, a little tacky.
You can plaster over artex surfaces, but trust us, it’s not as easy as it looks. Some artex designs are much harder to plaster over than others, due to the height of the texture on the surface.
When plastering over artex, or plastering over an artex ceiling, you will need to take a look at the texture height and decide whether the best course of action would be to remove some of the height, or if it’s flat enough to solely plaster over.
If the height of the designs protrudes from the surface quite a lot, it may be best to firstly remove the bulk of them. Remove these high points of texture using a metal tool such as a floor scraper or a wallpaper scraper, which will make the surface smoother and easier to work with.
After this step has been completed, follow the steps below:
-
Apply A Base Coat:
Applying a base coat to the surface is an extremely important step. If you do not apply a base coat, the surface may suck the moisture out of the plastering and cause flaking and cracking in the future. The go-to base coat is a PVA emulsion.
You need to ensure you apply this emulsion to the entirety of the surface, so a top tip when doing this is to add either food colouring, or a handful of plaster to the mixture. This will give the PVA a slight tint, which will allow you to see the areas you have covered.
-
Apply A Second Coat:
Depending on the porosity of the surface, you may need to add a second coat. If the first layer of PVA dries down completely, add a second layer. You want your PVA to be tacky when applying the first layer of plaster, as this will ensure there is an adhesive bond between the base coat and plastering.
Quite often applying a second coat of PVA, just to be safe, is the best course of action.
-
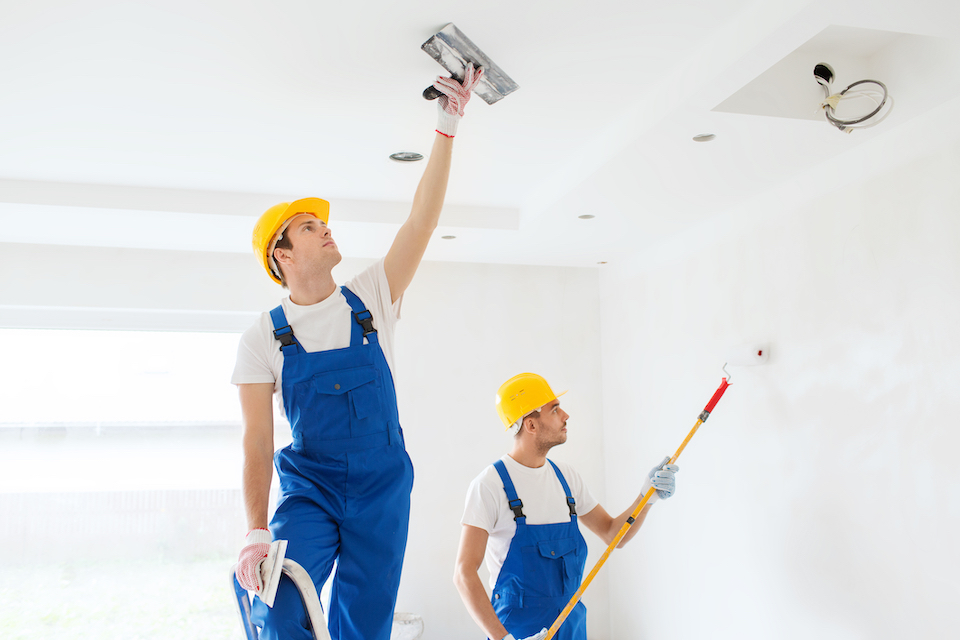
Skim Ceiling With Plaster:
Once your PVA has dried, and is tacky, apply your first layer of plaster. Wait around 7-10 minutes for this layer to firm up, and then use your trowel to clean up any edges and flatten down the plaster.
This will ensure that there will be no uneven areas or trowel marks when applying the next layer. At this point, it doesn’t matter if the plaster takes up the shape of the artex design, as you will be adding more layers on top of it.
-
Add A Second Coat Of Plaster:
Wait about 15-30 minutes for your previous layer of plaster to dry. This is the best period of time to apply a second coat, as you want the previous coat to still be damp.
Apply your second coat, which should be thicker than the first layer as the aim is to cover the high points of the artex completely. Wait for this layer to firm for 7-10 minutes and then repeat the step of cleaning up edges and flattening the plaster.
-
Apply A Third Layer If Necessary:
You may not need this step, however if you can still see the texture of the artex then apply a third layer of plaster. Wait 7-10 minutes and then repeat the cleaning and flattening step.
One tip you need to ensure you follow when applying plaster over artex, is to apply a new layer of plaster only when the previous layer is damp. Keep the 15-30 minutes rule we mentioned in mind. If you apply the new layer too soon and the surface is too wet, it will disrupt the previous layer.
If you apply it too late and the surface is dry, you may face cracking and flaking in the not so distant future. This is due to the previous layer of plaster sucking too much moisture out of the next layer, causing it to dry too quickly.
If you don’t have time to finish plastering your wall the same day, apply a thin layer of water to the dry plaster before applying the next coat
Is Artex Dangerous?
Until 2000, artex materials contained asbestos, which is a very dangerous substance. If your wall or ceiling has been decorated using artex, it is highly advised NOT to remove it. Asbestos is generally considered to be safe, unless it is disturbed.
Once it is disturbed, particles of dust and debris can be inhaled, which is toxic and can damage your lungs and cause serious diseases. Although artex contains quite low levels of asbestos, the dust and fragments when removing it could cause serious health concerns.
If you want to remove artex, make sure it is done by a professional, and you check whether the decoration was done before or after 2000.
Can You Plaster Over Paint?
The quick answer is yes, you can plaster over painted surfaces. However, there are a number of factors that need to be considered before doing so. The main factor that needs to be considered before plastering over paint, is the condition of the paint you’re contemplating skimming over.
If the paint is good quality and not in need of any maintenance, skimming over it with plaster is perfectly fine!
When plastering over a painted wall that is in good condition, the first step you must take is to clean the surface thoroughly. Quite often we cannot see the dirt and substances that build-up on our walls, but they are there, and they can create an uneven finish and issues with your plaster further down the line.
Use a sponge and soapy water to clean dirt, debris and grease from your wall before moving on to the next steps:
-
Apply A Base Coat:
Make sure you apply a layer of PVA emulsion to your surface, as this will create an adhesive bond between the surface and the plaster. If you skip this step, your plaster may crack and flake.
-
Apply Your Plaster:
Apply a first layer of plaster, wait 7-10 minutes for it to firm and then flatten any trowel marks and bumps. After about 15-30 minutes from applying the first layer, apply your second layer of plaster, and repeat the flattening step 7-10 minutes after the second layer has been applied.
Depending on the condition of the wall underneath you may need to apply a third layer, but this isn’t always necessary.
-
Wait:
Before applying any paint or wallpaper to the freshly plastered wall, you will need to wait for it to fully dry. Plastering can take up to 6 weeks to fully dry. It is recommended you wait at least a week for applying anything to the wall.
If the paint is old, in need of repairs and flaking from the wall, the best first step would be to remove all of the paint before doing anything else. If you apply plaster over a damaged painted wall, parts of the plaster could detach from the wall in future, or the plaster may crack and flake.
To strip the paint, wash the walls with a sponge, soap and water to remove any debris, dust and grease. Use a metal scraper to scrape off as much of the loose paint as possible. If patches of the paint are proving to be stubborn, you can use a sanding block to sand away at the paint which should loosen it, before scraping.
If all else fails, you can invest in a chemical paint stripper which will help to lift the paint, making it easier to scrape away. Remember to clean your wall again afterwards, to remove any left-over debris before plastering.
If your wall has any cracks or damages, you will need to tend to these first before plastering. You can fill smaller holes and cracks in a wall using a sealant such as Caulk.
Larger holes and cracks will have to be filled with plaster and mesh, which may be a job for a professional.
Can You Plaster Over Tiles?
Anything is possible, but it doesn’t always mean you should do it. Plastering over tiles can be done, however it is not recommended by professionals. The reasons for this being that firstly, a tiled wall is not a great environment for bonding plaster to. When plastering a surface, the surface needs to be able to bond to the PVA base coat.
Due to most tiles being extremely slippery and being unable to suck in any moisture, the PVA base coat layer will not bond to the wall, which will create a very weak surface once your plastering has been applied. As a result of this bond not being made, the plaster will flake and detach from the wall easily.
Another problem that arises when plastering over tiled surfaces, is that you are then unable to drill into the surface. The majority of tiled surfaces are present in kitchens and bathrooms, which need appliances such as lavatories, sinks, kitchen counters and more.
These appliances need to be attached to a strong surface and drilling into plaster attached to tiles would cause extreme cracks and damages.
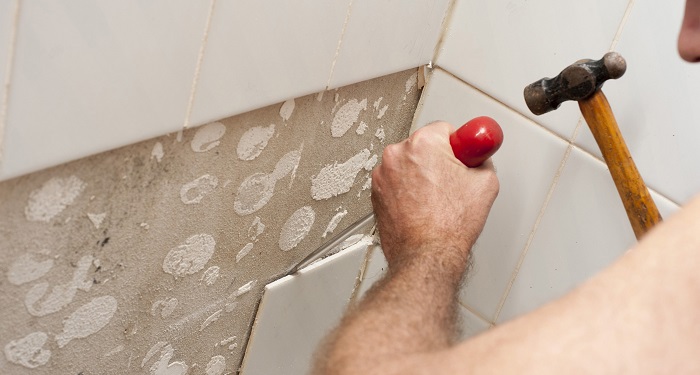
The most efficient tip to remember if you’re determining whether you want to plaster a tiled surface, is that removing tiles is a relatively simple task. If you want to avoid a whole host of problems in the future, removing tiles with a chisel and hammer is a small price to pay to get the job done well.
If push comes to shove and you only have time to plaster the wall and not remove the tiles, you will need the correct materials. Blue Grit is the best bonding agent to use on tiles instead of PVA. PVA will not create a bond between itself and the wall, which is essential when plastering.
If you do not have time to remove the tiles, apply a layer of Blue Grit bonder to them first as a primer, let it dry thoroughly for around 24 hours before applying your plaster. Unlike regular PVA, Blue Grit only needs one coat.
Can You Plaster Over Wood?
Plastering over wood is a tricky scenario. Most professionals will avoid it altogether by removing the wooden panelling, however there are ways around it. It is not advised to plaster directly onto a wooden surface as wood is too porous of a material to hold a bond with the PVA primer and plaster layers.
Plastering directly onto wood would cause the plaster to disconnect from the surface in the very near future, which would cost a lot to repair.
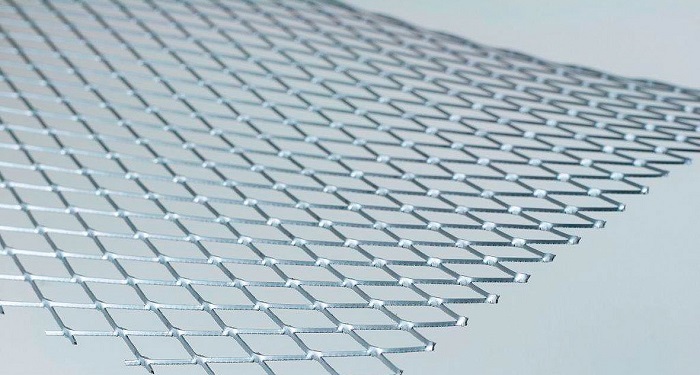
The best way to go about plastering over a wooden surface, is to use an EML. An EML is the short term for Expanded Metal Lathing, which is basically sheets of metal mesh. The EML allows some texture for the plaster to adhere to, and it needs to be secured into place using screws or nails. This is the easiest and most cost-effective method.
Another way to plaster over wood would be to disrupt the surface. By scratching and creating texture in the surface of the wood, you can create a finish that is more easily gripped by the primer and plaster. However, this method is not always reliable, and the plaster can eventually disconnect from the wooden surface.
If you are dealing with wooden panels, one final way to try and cover them is to push the plaster in between the panels. When the plaster is pushed through the gaps in the wood, it clumps up on the other side and hardens around the back of each panel.
This essentially is a method to keep the plaster in place by hooking it around each part of the wood. This is a last resort method, and it is not advised by professionals as it is not always successful or reliable.
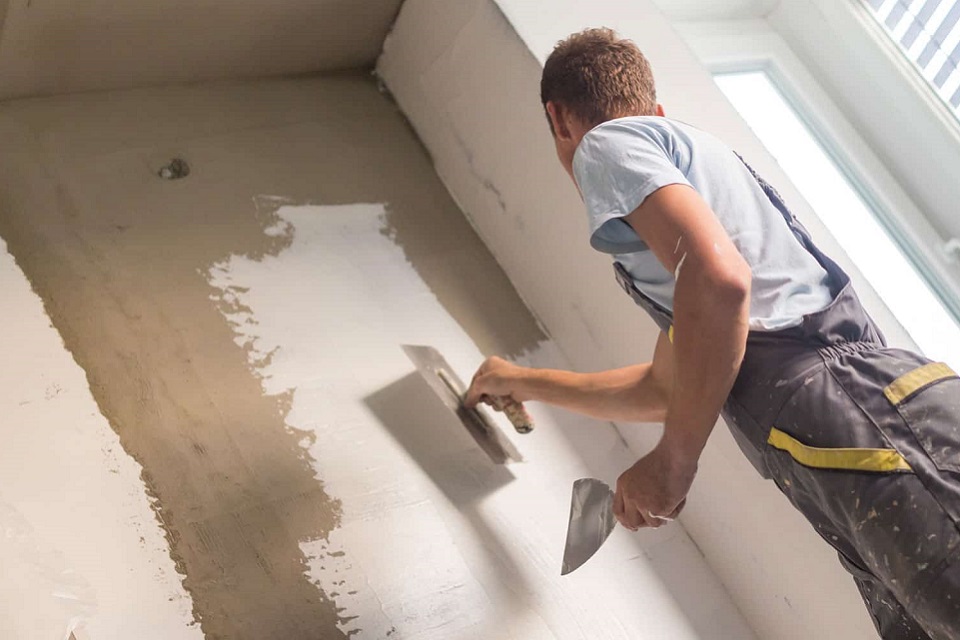
Can You Plaster Over Plaster?
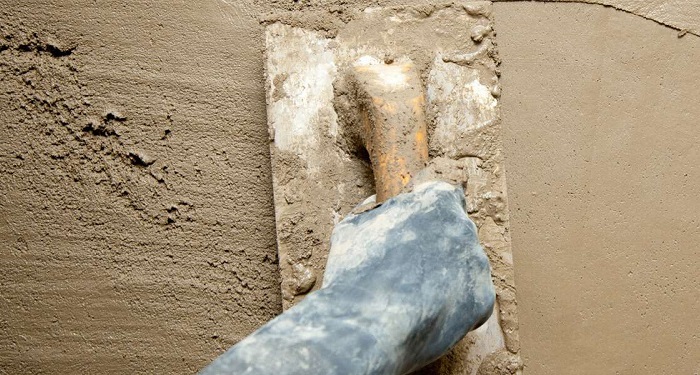
Plastering over old plaster is probably one of the easiest materials to work with. However, there are still some things you need to consider before you begin, and some steps you need to carry out to prepare your surface for plastering.
When plastering over an already plastered wall, you first need to consider the length of time the old plaster has been there for. The longer the plaster has been there, the more porous the material will be. The older and drier the plaster, the more moisture it will suck from the plaster you apply to it. Therefore, before you start layering more plaster onto it you need to apply a base coat.
The most common base coat used to prime a wall is PVA. PVA is essentially a glue substance, which sticks to the surface and forms a bond which will hold your new plaster in place.
If you skip this step, it is highly likely that you will run into some trouble in the future. A wall that has been plastered without a primer coat will eventually flake and crack, which will require upkeep and maintenance - costing you more and more money to repair
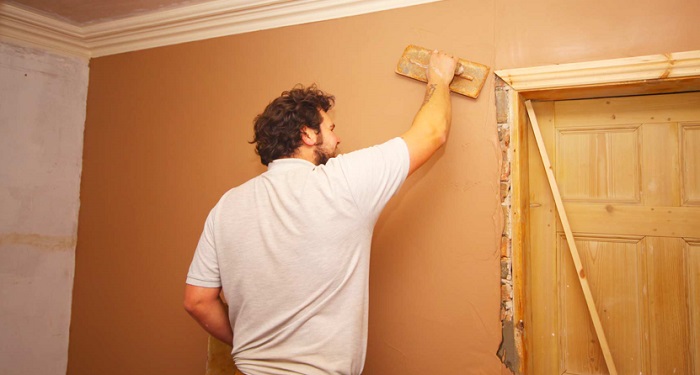
Most old plaster will only need to be skimmed. Skimming over old plaster means that you’re only applying a few thin layers, rather than multiple heavy layers of plaster. In order to prepare your wall properly, you will need to follow these steps:
-
Clean Your Wall:
Ensure you clean any dust, debris and grease from your wall as these can interfere with the bond between the surface and the products you apply. If the wall is not clean and a sufficient bond is not created, the plaster may crack and flake.
-
Apply A Base Coat:
Apply a layer of PVA emulsion to your wall and once it dries, check how it feels. If it is completely dry, you will need to apply a second coat. If it is tacky, one coat should be sufficient.
Quite often with very old plastered walls, it’s a good idea to add multiple coats of PVA primer, to ensure that the plaster has a viable adhesive to stick to. After you have applied the first layer of primer, check your wall for uneven patches and bumps and sand them down using a fine sandpaper.
Do not press too hard, as you don’t want to damage the surrounding wall. If you had to sand down any areas, you will need to apply a second layer of PVA.
-
Apply Your Plaster:
Between each layer of plaster, wait 7-10 minutes until the plaster has become a little firmer, and then clean up any problem areas with the trowel.
Apply each layer around 15-30 minutes after the previous layer was applied. You want your plaster to be damp, so the next layer can sufficiently adhere to it
-
Leave It To Dry
Before decorating your wall, leave your plaster to dry for at least a week. Sometimes plaster can take up to 6 weeks to fully dry
If the plaster is very old and damaged, you will need to fix any cracks and holes before plastering over it. You can fill smaller holes and cracks in a wall using a sealant such as Caulk. Larger holes and cracks will have to be filled with plaster and mesh, which may be a job for a professional.
Failure to fill holes and cracks can create a very uneven finish to your newly plastered wall and can even cause further damage in the future such as cracking, flaking, and the plaster detaching from the surface.
If your plaster is severely damaged beyond repair, you may need to remove the old plaster and start fresh. This is not often necessary, but in some cases, it may be required.
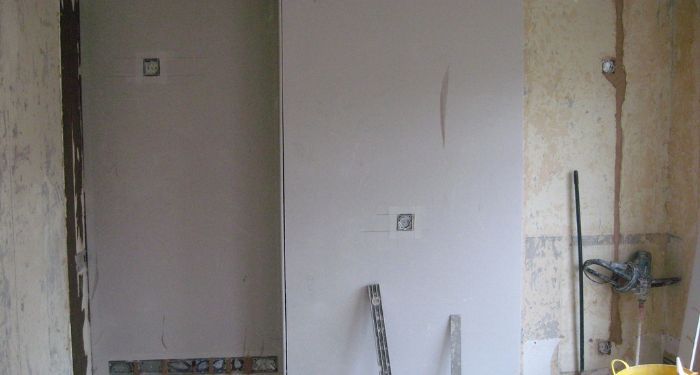
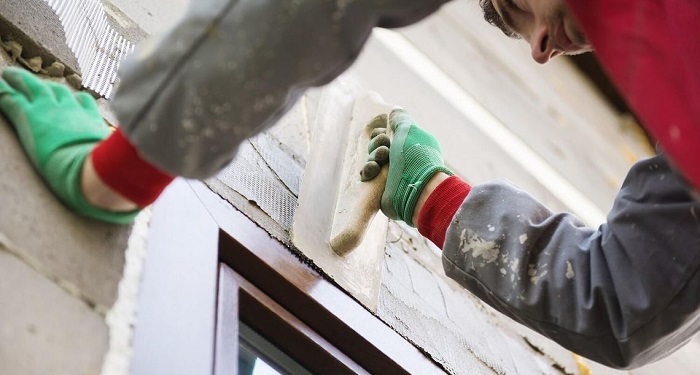
Can You Plaster Over Plasterboard?
Plasterboard is different from usual plaster; therefore, it requires different methods when applying new plaster to it. Plasterboard is less formally known as drywall and is essentially a substance called Calcined Gypsum mixed with water which is then sandwiched between two different layers of paper and dried.
Plasterboard is a lot quicker of a technique than normal plastering, as the boards are premade and cut to the dimensions of the building, and then secured to the framing. Plasterboard quite often has small holes with nails and screws at the edges where it has been secured to the framing behind it.
This means that the best option to give it that fresh, clean look would be to skim it. Skimming is the method of applying a thin layer of plaster over a surface, rather than applying multiple thicker coats. Often some more smoother surfaces don’t need more than a thin layer to cover them.
Before you begin plastering over plasterboard wall, you may want to consider scrimming the joints. Scrimming reinforces the corners of the plasterboard, strengthening them, and also covers any lines and holes.
To do this, purchase some scrim tape, and secure it to any corners, edges and holes in the plasterboard before plastering. Once the plaster is skimmed over the top, it will set into the mesh of the tape, which will prevent cracking and lines showing in the future.
When plastering a drywall, you don’t always need to apply a layer of PVA as a base coat as it is usually made with plaster in mind. Instead you can dampen the surface slightly with water - however do not apply too much water as you can damage the surface.
If the plasterboard is quite old, it may do better with a layer of PVA first. Before you begin, determine how long the plasterboard has been there for - if it’s modern add water, if it’s a few decades old add a layer of PVA.
Skimming plasterboard should only need 2 thin coats of plaster. Always make sure to wait 7-10 minutes for your plaster to firm up, and then smooth out any imperfections before applying the next coat. Your next coat should be applied 15-30 minutes after the previous coat.
Can You Plaster Over Brick?
Plastering over brick is not something that commonly has to be done in recent years. It can be a tricky task to manage, especially if the brick is old and deteriorating.
If your wall is crumbling, applying plaster to it is never a good idea, as firstly, the plaster will not sufficiently stick to the surface, and secondly, you will risk major damage to the plaster in the future.
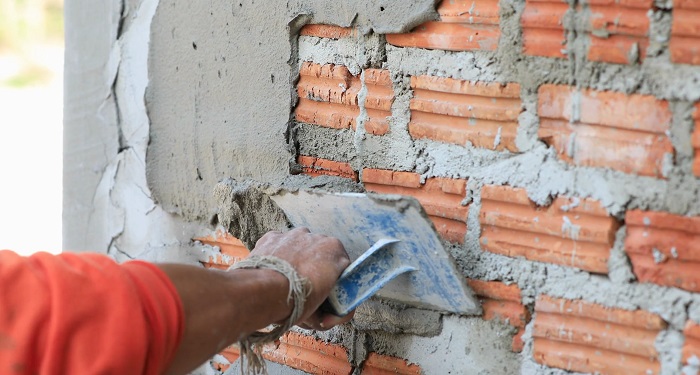
If your wall is not in good condition, you should seek specialist advice to rectify the damage before considering applying any plaster to the surface. If your wall is relatively new and undamaged, plastering is possible. However, it will need a lot of preparation to ensure it is done sufficiently.
You can plaster directly onto the brick; however, this is not always the most reliable option. Your best two options would be to:
-
Secure Plasterboard To The Brick Wall:
By securing plasterboard to the brick surface you will avoid the task of working with an extremely uneven surface to begin with. Brick can be hard to plaster due to the different levels of the brick and the cement holding it together.
Fix drywall boards to your brick wall, and then skim over the plasterboards with plaster. This method is a lot cheaper than alternative methods, however if you do not sufficiently secure the plasterboard to the brick, you may come across some problems in the future
-
Apply a Sand And Cement Render:
Applying a mixture of sand and cement to your brick wall before plastering creates a very strong, and even finish to work with. The plaster will adhere to this surface a lot better than it would adhere to the brickwork.
Although this method takes a lot longer and can be the more expensive option, it is extremely durable and will need less maintenance in the coming years.
Before even beginning the plastering process, you will need to clean the wall thoroughly. Brick materials are known to create a lot of dust and debris, especially over time as they crumble.
In order to ensure your materials, adhere to the brick, you will need to thoroughly brush over the brickwork using wire brushes to make sure the area is clean and there is nothing that may interfere with the bonds of the plasterwork.
Can You Plaster Over Breeze Block?
Plastering over breeze block is very similar to plastering over brickwork. Breeze block is a more lightweight version of bricks, made from cement and sand. The reason they are so much more lightweight and inexpensive is due to the materials they are made from, and the fact that they are usually hollow.
Breezeblocks tend to be a lot bigger than normal bricks, so are not very often used to build whole structures such as buildings. You are more likely to see them used to create garden walls and structures outdoors, as well as smaller partition walls.
Plastering over breeze block and brick walls are very much the same. You will first need to inspect the condition of the wall, as an older wall may not be able to handle layers of plaster on top of it.
Breeze blocks began to gain mass popularity between the 1950s and 1960s so some structures could have been around quite a long time.
If your breeze block wall is looking on the older side, and is over a couple of decades old, you may wish to contact a professional to fix any issues with the wall before you put any materials on it.
Failure to do so could result in major structural issues in the future, such as the plaster cracking, crumbling and flaking from the wall.
If your wall is relatively new and in good condition, follow these steps:
-
Clean The Surface:
Cleaning the breeze blocks thoroughly is an extremely important step before adding anything onto it. If you do not clean dust and debris from the surface, anything you apply on top of it will struggle to adhere which will cause many issues afterwards.
Use a wire brush to brush away any dirt and debris, to prepare your wall for the next step
-
Straighten Out Your Wall:
Walls made out of brick or breezeblock are never an easy or even surface to work with. The two best options for straightening out your wall and giving you a smooth, blank canvas are to either secure plasterboard to your wall first or apply a layer of a cement and sand mixture.
Plasterboard is the cheaper and quicker option, as you can plaster pretty much straight away. However, using a mixture of sand and cement will give you a sturdier option which will last longer.
-
Prepare Your Wall For Plastering:
If you used the plasterboard option you will need to use scrim tape to ensure that edges and drill holes are not covered. Apply the scrim tape to any holes and along all seams and edges.
This will create a smoother surface once plastered and will also reinforce the seams to add strength to the drywall. If you went with the sand and cement method, you will need to wait for this to fully dry before applying any plaster
-
Layer The Plaster:
If you used plasterboard, you can plaster straight away. After applying each layer of plaster, wait 7-10 minutes and clean up any uneven areas. Wait 15-30 minutes before applying the next layer. If you used cement and sand, once it is dry, apply a layer of PVA emulsion to the wall and wait for it to dry.
The PVA should be tacky once dried, if not, apply a second layer. Once your PVA is tacky, apply your first coat of plaster. Wait 7-10 minutes after applying each coat of plaster and then clean up any uneven areas. Apply each layer of plaster 15-30 minutes after the previous layer
If you do not have time to finish the project in one day, make sure you apply a thin layer of water over the plaster before applying the next layer.
If you apply a new layer to plaster that is already fully dry, it will not bond. Once your plaster is finished, wait for at least a week before decorating.
FAQs
Q: What’s the best plaster to use?
A: One of the most common types of plaster used when decorating, is ready mix plaster. This type of plaster gives you the perfect ratios of sand and cement, meaning you only have to add water.
Ready mix plaster is great for DIY jobs as it allows you to be precise, without having to think too much about it.
Q: How long does plaster take to dry?
A: Plaster can take up to 6 weeks to fully dry. In most cases, professionals advise that you wait at least one week before decorating a wall that has been freshly plastered. The drying time of plaster depends on the surrounding conditions for example, weather, airflow in the home, whether your heating is on.
Try to keep windows in your home open to allow constant airflow through the building, this will help speed up the drying time naturally. Try not to use your central heating for the first 48 hours as drying out the plaster too fast can cause cracks.
Q: What should I do if my brick wall is crumbling and I want to plaster it?
A: If your brick wall is crumbling, you should not apply any plaster to it. Seek the help of a professional to fix any issues with the wall before moving ahead with your decorating. Plastering over a crumbling wall of any material can cause serious structural problems in the future. Plaster could crack, flake and detach from the wall behind it.
Q: How do I prepare a surface for plaster?
A: The first thing you should do when preparing a surface for plastering, is ensure it is clean. A wall covered in dust, dirt and grease will not hold bond with the plaster, which will cause it to flake, crack and come loose.
Clean your surface with a sponge and slightly soapy water to remove any dirt. Even if you can’t see it, chances are it is there. The second step you must take is to determine whether your wall needs a primer layer first, to create an adhesive surface for the plaster to stick to.
Q: Is an artex wall or ceiling dangerous?
A: Artex is generally considered to be safe, unless it has been disturbed. This is why it is better to plaster over an artex surface, than to remove it. Artex dust and particles contain low levels of asbestos, which can severely damage your lungs and cause complications.
If your artex wall or ceiling has been around since before the 2000s, it is likely to contain asbestos, however always check with a professional before deciding the best options.
Sources
- https://www.propertytribes.com/plastering-over-wallpaper-t-3070.html
- https://www.ecosolutions.co.uk/artex-faqs/
- http://b-k-systems.co.uk/wp-content/uploads/2014/04/Febbond-Blue-Grit.pdf
- https://www.everbuild.co.uk/product/febond-blue-grit/
- https://home.howstuffworks.com/home-improvement/home-diy/projects/drywall-vs-plaster2.htm/
- https://www.homebuilding.co.uk/how-to-skim-a-plasterboard-wall/
- https://community.screwfix.com/threads/pva-plasterboard.193604/
- https://www.helpfulhomediy.co.uk/how-to-use-scrim-tape/
- http://www.plastering-direct.co.uk/can-you-plaster-directly-onto-brick/
- https://www.diynot.com/diy/threads/can-you-plaster-onto-breeze-blocks-and-ventilation-help.280754/
- https://blog.360modern.com/the-history-of-the-iconic-breeze-block/2019/01/