What is Artex?
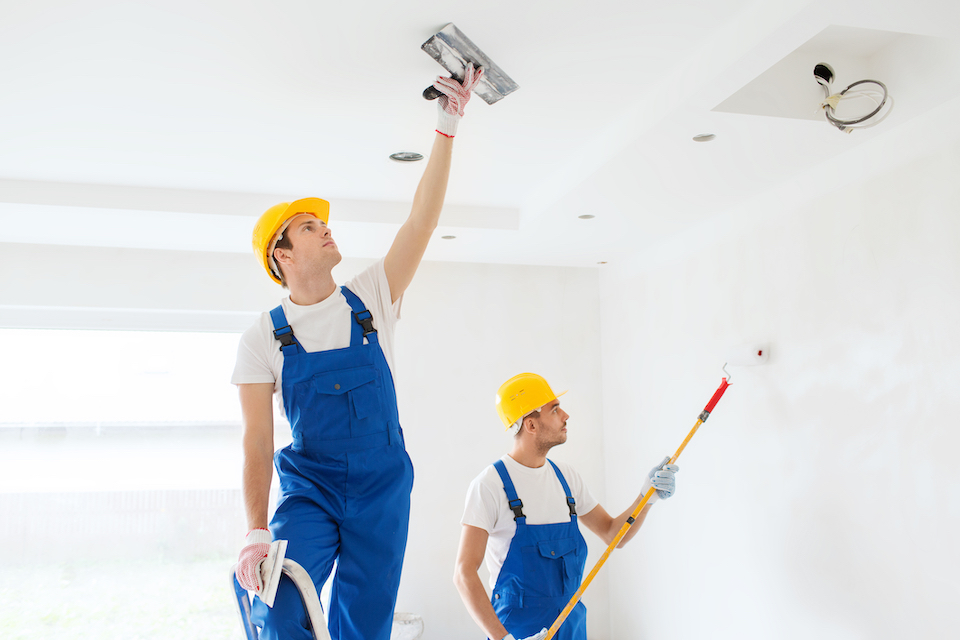
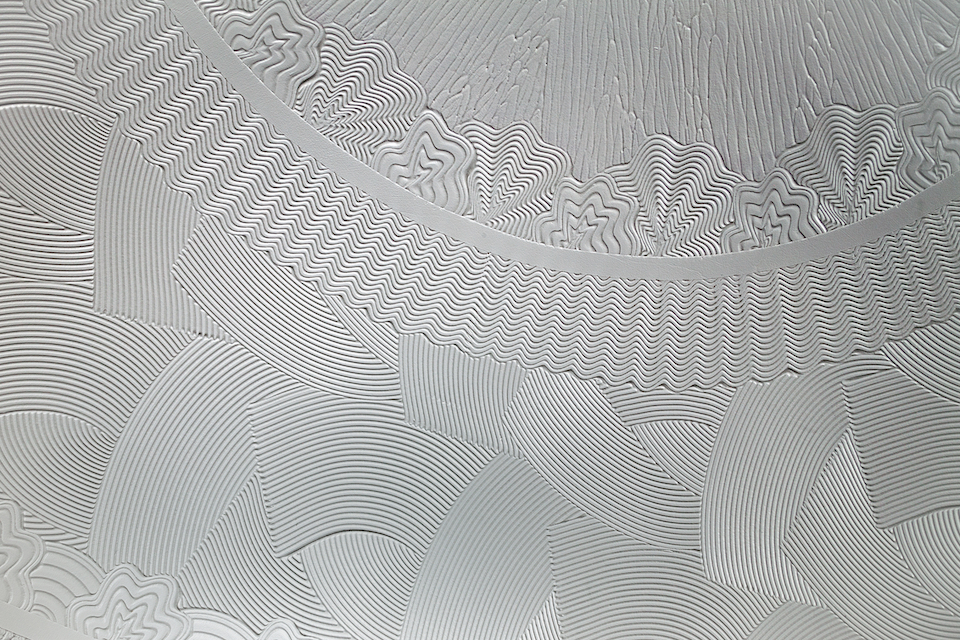
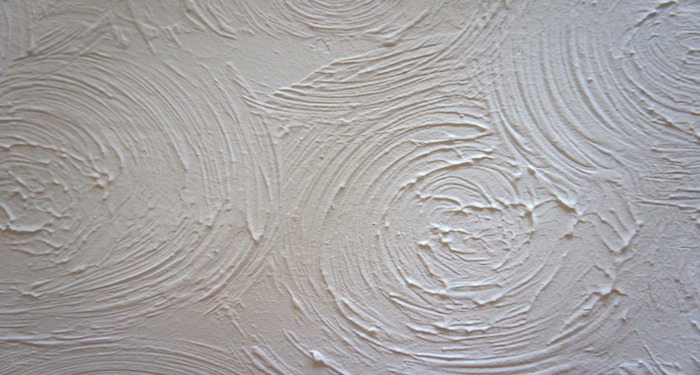
Artex is a type of surface coating often found on ceilings and walls. Artex creates types of textures, usually swirls or stipples. This method of decoration was widely popular in the UK between 1970’s - 1990’s and can be recognised in homes today.
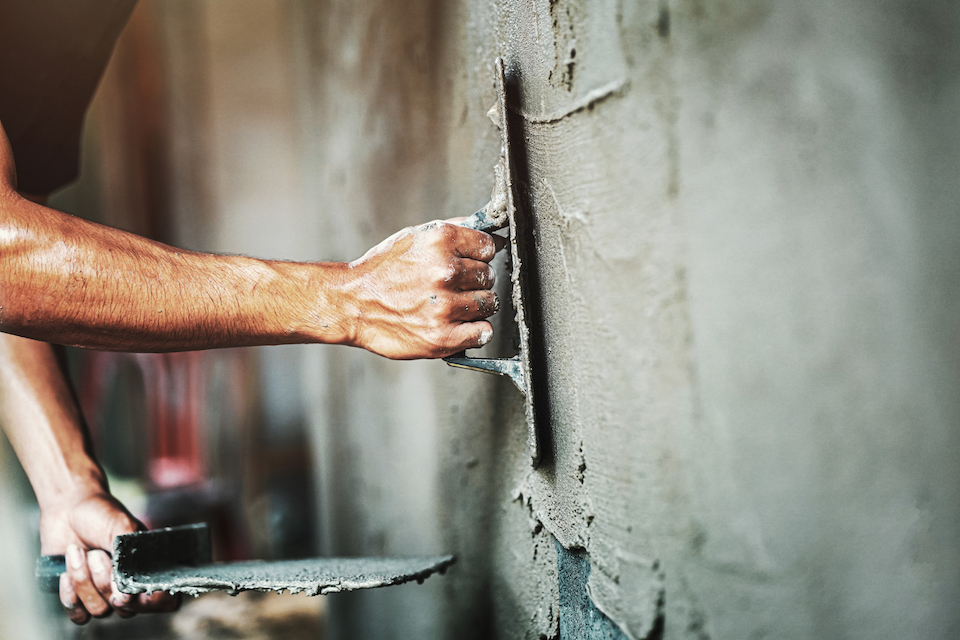
The name Artex comes from the trademark Artex LTD, who are based here in the United Kingdom. This substance is often used by decorators, usually skilled plasters as they create these individual patterns on ceilings and walls.
There is a difference between artex and plastering and that's due to the finished product, as plastered finish is smooth and the Artex is textured.
Artex was once a highly popular decorating choice method for ceilings. Due to changes in interior fashion, it is now becoming less popular among homeowners with most choosing removal options.
Artex was originally created with small amounts of asbestos, the reasoning behind this was it would strengthen the product. This process of mixing was used up until the mid 80’s.
People are now seeking how to remove Artex from ceilings because of the asbestos content It is important to note not all Artex contains asbestos and there ways you can test if the artex in your home contains these dangerous fibres.
Safety is key whilst removing this material, we will discuss safety shortly. This coating is not harmful if left untouched, as Artex is usually located on the ceilings it poses no risk whilst left undisturbed.
However it can be harmful when drilled, cut broken or sanded into a powder form as the dust particles created by sanding can be extremely hazardous if inhaled.
If you are concerned about asbestos in your home then you would need to seek professional advice from an asbestos surveyor to determine whether the asbestos is present. You can also send a sample of your artex off for analysis.
In 1999 all forms of asbestos were banned, so if your home was built after this then your artex will not contain asbestos. Although the substance was banned, by law you are not required to have this removed.
How to Remove Artex Yourself
To ensure you remove artex correctly, you should follow these five important steps:
Step 1
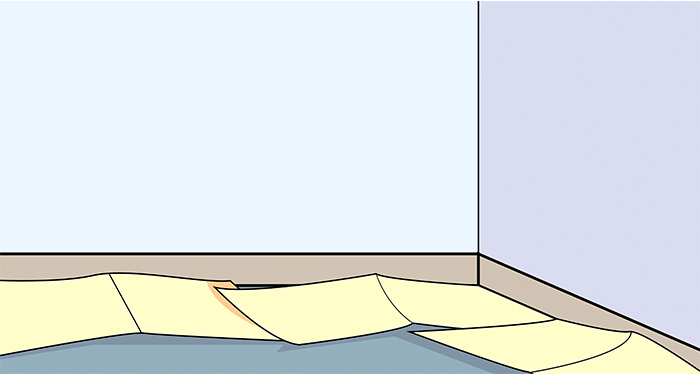
As this process can be extremely messy we recommend preparing your room with dust coverings or newspaper on the floor. This will make the clean up process much easier at the end.
Step 2
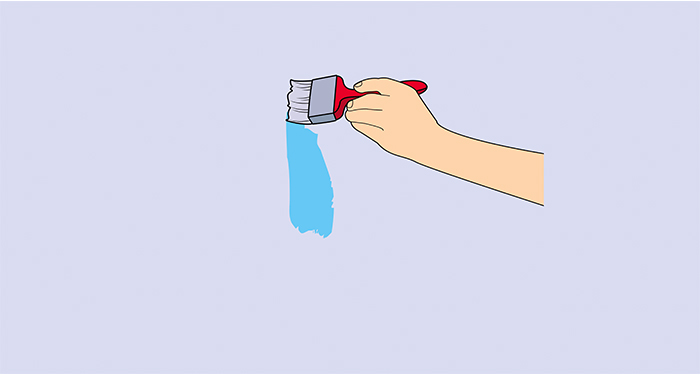
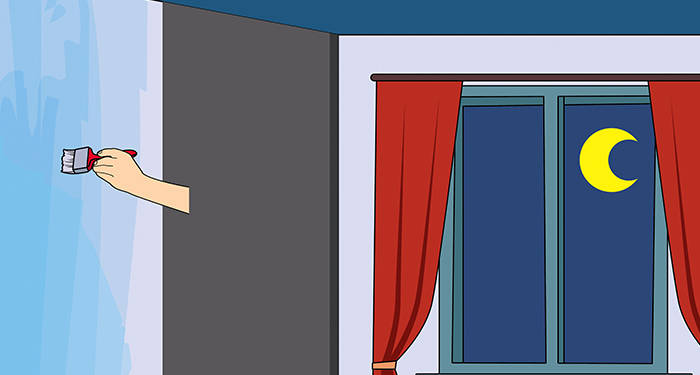
Apply an X-Tex coating onto your artex surface. Use a paintbrush and generously apply a coat to the surface.
Step 3
Before you remove Artex from your wall or ceiling, it's advised to test a small area first. This will give you a good idea on the time it will take to complete your project.
You could consider covering the area with plastic sheeting, as this sheeting traps air and forces the product down onto the surface. This will allow the layers to absorb the X-Tex.
Leave the film overnight to soften an existing emulsion and the artex. We only recommend this method on multi-layered surfaces.
Step 4
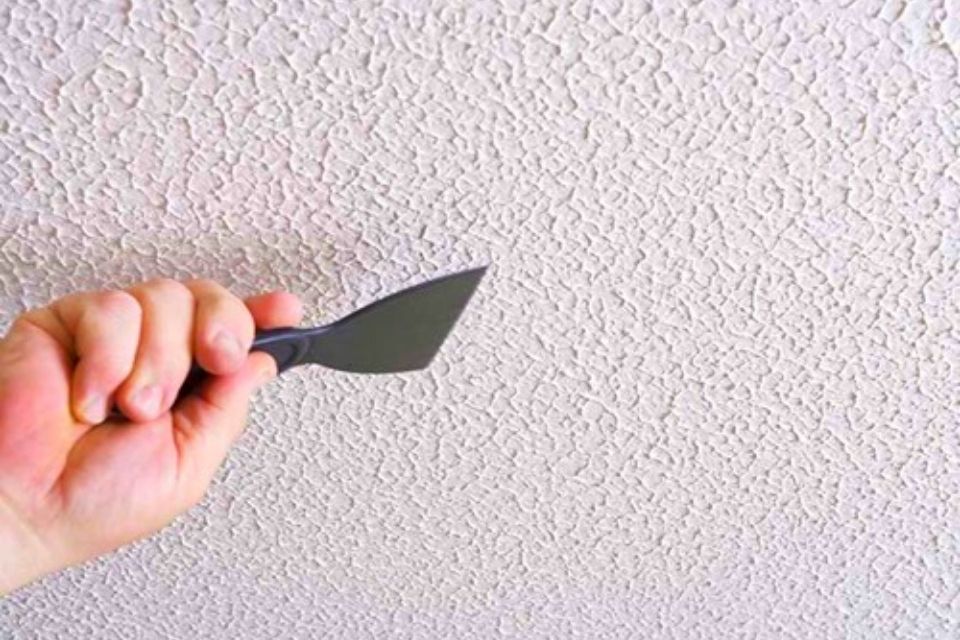
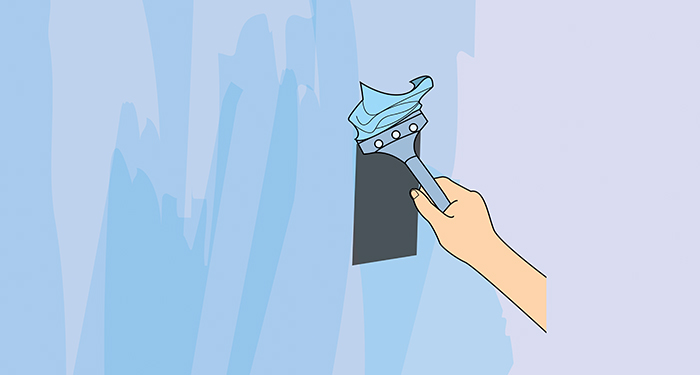
Use a metal spatula or long-handled blade scraper to begin scraping off the layer of artex. This process is similar to removing wallpaper. The pieces will fall directly on the floor.
Step 5
Continue to apply the X-Tex solution on the specific area and use your scraper to remove the Artex.
If you would like to know how to remove Artex from ceiling, the process is exactly the same, just follow the 5 simple to follow steps above.
Tools to Remove Artex
With any DIY project you need to e equipped with the correct tools to ensure you are getting the best end result possible. Luckily for your artex removal project, the tools and materials required are minimal.
The artex tools you need are as follows:
- Dust/protective sheets
- Long-handled blade scraper
You should be able to purchase these products easily at a local DIY shop or online.
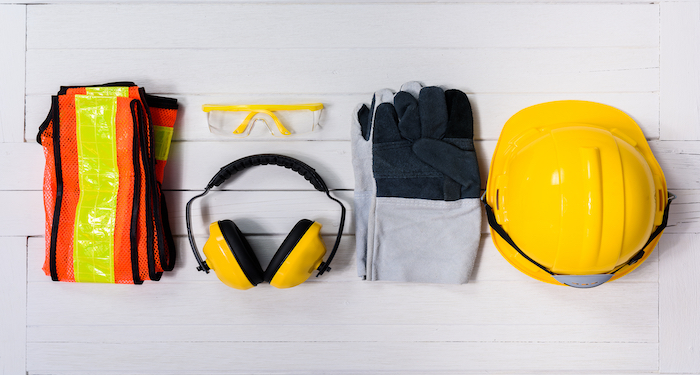
Safety Equipment to Remove Artex
As we stated before safety is paramount when it comes to removing artex.
Artex that contains asbestos is only harmful when it is changed to a powder form. The reason this is so dangerous is due to the dust, which can be toxic if inhaled and has been proven to cause fatal health issues, such as damage to the lungs and other serious diseases.
If you have any cracks in your artex which could allow dust to leak out, it is advisable that you get someone qualified in to advise, and if need be, remove it professionally.
However if your artex looks undamaged, you can use the X-Tex product to remove the artex as this product will provide you with safe removal. The reason for this is because the product is a wet gel and doesn’t cause dust on removal.
Even if the artex in your home does not contain asbestos, the removal of this if sanded and scrapped can still cause dust, therefore it’s important to protect yourself fully before jumping in feet first.
We recommend that you cover yourself appropriately, wear old clothing and ideally cover your skin, with long sleeves and trousers. The X-Tex is a safe product to use. This doesn’t cause any burns and you won’t get any nasty toxic smells due to the products PH level.
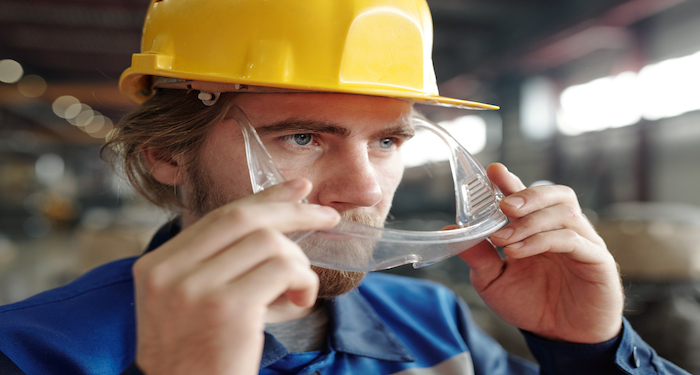
Even though the X-Tex product is safe to use and ensures that no dust will escape during the usage, we would still advise you to protect yourself and use a dust mask whilst removing the artex.
You will also be using a scraper, which has a sharp tip, so it’s strongly advised you protect your hands using protective work gloves.
To recap, you will need to source the following:
- Dust mask
- Protective gloves
- Old Clothing to cover the body
- Safety goggles (If you wish)
Materials to Remove Artex
As we have discussed the tools and safety equipment, it’s now time to look at the materials you will need to safely remove Artex from your walls or ceiling.
You will need to purchase:
- X-Tex
- Plastic wall covering (to use to cover over the gel to intensify the X=Tex properties)
You can purchase these from all good DIY stores, X-Tex directly or online.
How to Prepare to Remove Artex
Like with any project, the preparation stage is important. You need to inspect the artex area fully, checking for any areas of damage.
If you there are any areas that have been drilled, sanded, broken or chipped and your home was built before 1999, then you should seek professional advice or send off a sample to check for signs of asbestos.
It is strongly advised you don’t break off any of the artex to send as a sample yourself, as you could risk exposure to harmful fibres.
If the area is undamaged, you are able to source all your tools and materials and then begin the step by step process to remove the Artex.
FAQs
Q: How can I tell if there’s asbestos in artex?
A: As a general rule of thumb if your home was built before the mid 1980s, then your artex in your home is likely to contain asbestos.
If your home was constructed between 1985-1999 then your home is less likely to contain asbestos in the artex. If your home was built after 1999 then the Artex in your home will not contain any asbestos.
The only way to be 100% certain that there is asbestos present in your artex would be to take a sample and have it analysed by a specialist.
You can send a sample off yourself to be tested if a piece has broken off previously, a kit usually costs around £30 and you can get results in a matter of days. You can find kits online, however it is recommended that you hire a specialist to come and collect samples from your home.
You will also receive a certification with your results, which would be perfect if you are trying to sell your house.
Q: When did they stop using asbestos in artex?
A: Asbestos was used in artex from the 1970’s to 1985, however the use of asbestos in artex was made illegal for use in 1999 - 2000.
Q: How would you evenly apply paint to an uneven surface such as external masonry or artex?
A: You can paint over artex, as the surface is textured you need a special type of tool and paint to do the job properly.
As the artex is classed as a textured surface you will need to use a roller with long hair such as a long sleeved mohair roller.
The length of the hair on the roller has much more pile which can be used to fill in all those hard to reach areas when painting. You should consider using an emulsion paint.
As the surface is textured rather than smooth, be prepared to use two coats of paints to ensure the surface is covered fully.
Q: How much does it cost to remove artex that contains asbestos?
A: Artex removal cost will differ from professional to professional, but this could be a costly job. For 20 square meters, it can cost up to £1200 and VAT to remove artex professionally.
Q: Can I plaster over Artex?
A: In short, yes you can! If the artex in your home is in good condition and there are no breakages then it is safe to cover the artex with plasterboard and skim over it with a fresh layer of plaster.
Don’t be tempted to sand down the artex first as this can release asbestos particles and realise fibres that can become airborne and any inhalation can be damaging.
Sources
- https://www.ecosolutions.co.uk/homestrip-xtex/
- https://www.haspod.com/blog/asbestos/asbestos-Artex-ceiling-risk
- https://www.ecosolutions.co.uk/Artex-faqs/
- https://www.diydoctor.org.uk/projects/paintrollers.htm
- https://forums.moneysavingexpert.com/discussion/2214571/preparing-Artex-ceiling-for-painting
- https://www.aic.org.uk/asbestos-in-Artex/