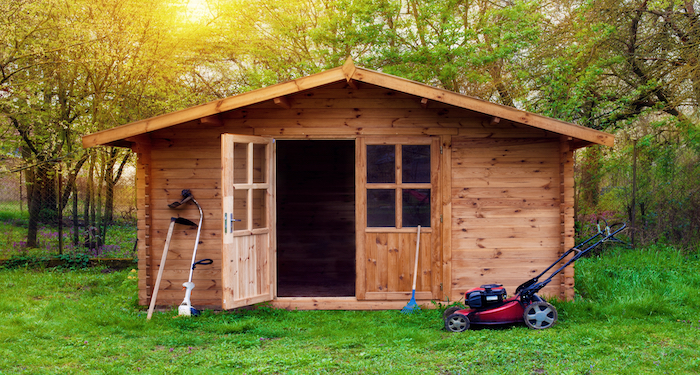
Why Does my Shed Need to Be Insulated?
Insulating your shed can be very beneficial if you want to prevent frost and the cold and damp air from damaging internal items in your shed, such as plants, vegetables and tools. Adding the insulation will ensure that you maintain a stable temperature all year round.
If you use your garden shed for recreational purposes or just as an area to escape or relax, then insulating your shed can allow you to enjoy the most from your space come rain or shine.
Not only will insulating your shed be beneficial to the objects within the shed, but insulation can so help prolong the life of your shed. The insulation can protect your shed for moisture and humidity which could lead to mould and rotting of the timber.
It may come as a surprise but increasing warmth by insulating your shed can make a huge difference, especially during the winter months.
If like most people, your shed is your pride and joy, you want to utilise the space as much as possible. By keeping the shed insulated you are able to make more out of the space, without getting a winter chill.
As stated previously, insulation can also help reduce damage to tools and equipment. If tools are getting frosty, cold and moist during the winter months it can cause damage. By using insulation you can help prevent this from happening.
The same goes for the gardeners among us. For those of you who keep plants in your shed, the frost and cold can kill our plants and vegetables, so insulation would be highly recommended.
How to Insulate a Shed Yourself
Please follow our easy to follow step by step guide on how to insulate your garden shed using an insulation kit.
Step 1
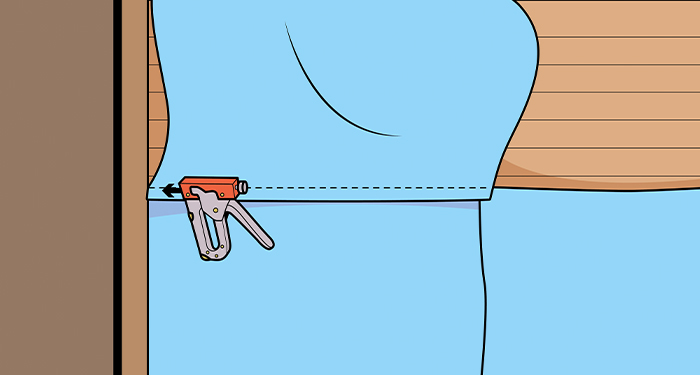
To begin your insulation you should start by taking your pre-loaded staple gun and insulation. Start at the wall nearest the door and begin to staple the insulation to the wall, staple halfway back into the upright studs.
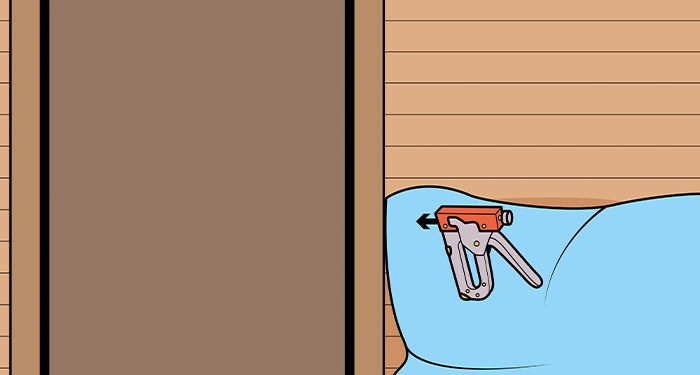
Keep your insulation stapled tightly and securely, which will give you a neat finish.
Step 2
Continue to move around the lower half of the shed, remembering to space your staples evenly into the wooden studs in the shed. Don’t forget to staple your insulation tightly around window ledges.
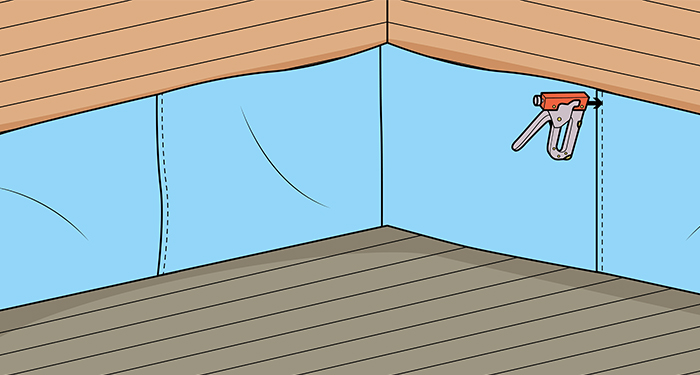
Step 3
Once the lower level of the wall has been insulated and stapled securely, you can begin to start the upper section of the wall.
Following the same technique, you should overlap this new layer of insulation by around 50mm with the lower layer of insulation on the wall.
Step 4
If you have windows you can choose to either insulate directly over the window to add extra insulation or you can cut the insulation away.
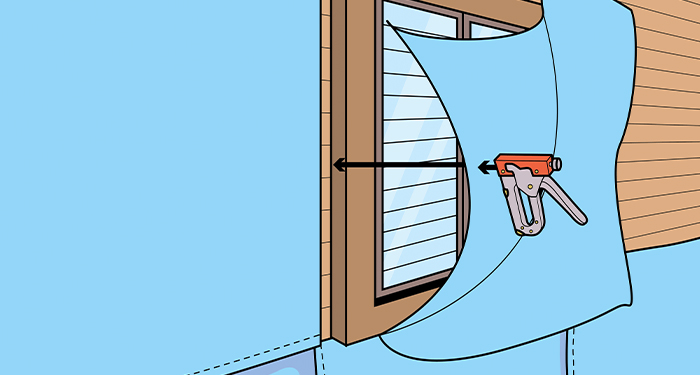
If you are choosing to cut the insulation away and keep your window, then continue to add the insulation straight over the top of the window and secure the staples around the window structure.
Step 5
Using proactive gloves, take your craft knife and carefully cut around the edge of your window frame into your insulation.
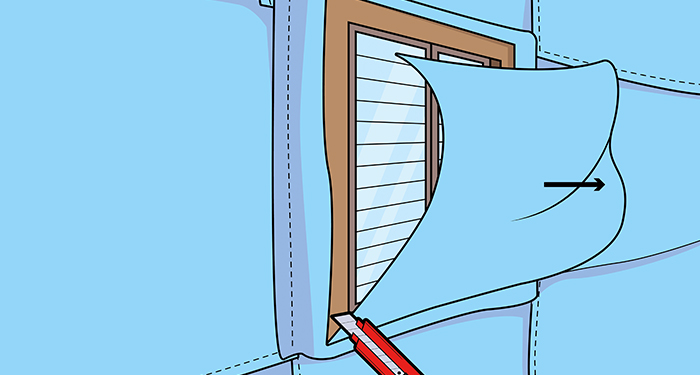
Be cautious with this step as you don’t want to mark or damage the glass in the frame. The insulation should cut fairly easily, so force won’t be needed.
Step 6
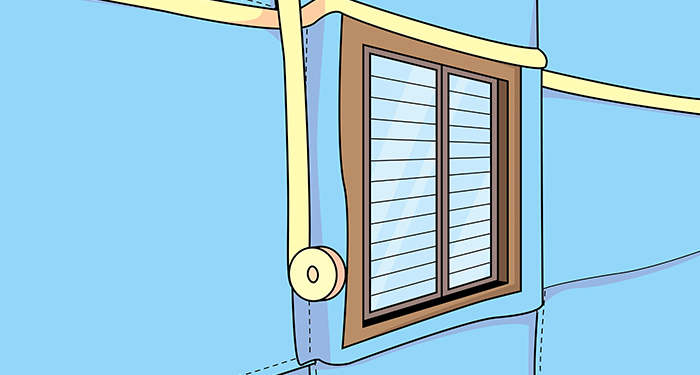
You should now begin to secure the wall insulation joints using the foil tape supplied inside your kit. Tape over any overlaps, jointing and edges.
Step 7
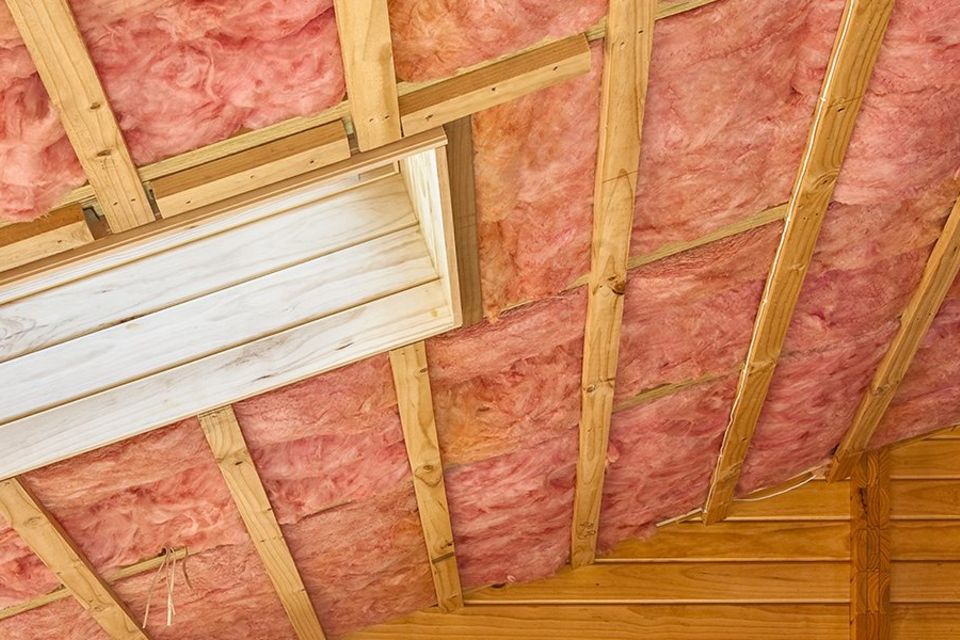
It’s now time to start applying the isolation to the roof. This is easily done, but you may need help in hand to position the insulation overhead. Staple the shed roof insulation to the timber rafters.
It’s vital that you allow a gap for ventilation space when stapling the isolation material to the roof. You don’t want it too tight as when heat rises it can cause mould beneath.
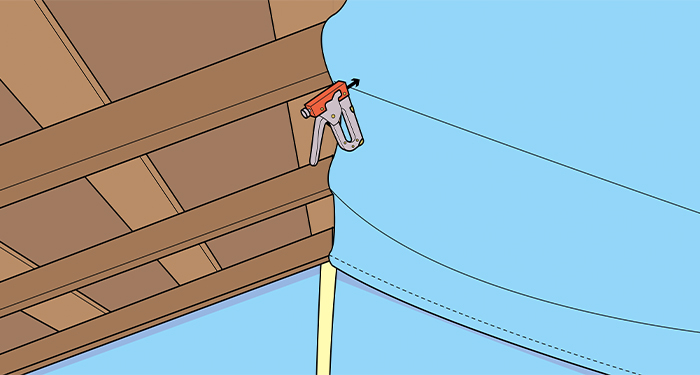
Ensure you leave a 2 inch gap between the roof timber and insulation should be a sufficient gap.
Continue with this until the roof insulation has been applied.
Step 8
You should now continue the same application technique and apply the insulation to the inside of the shed door. Measure out the insulation and cut the piece to fit the door.
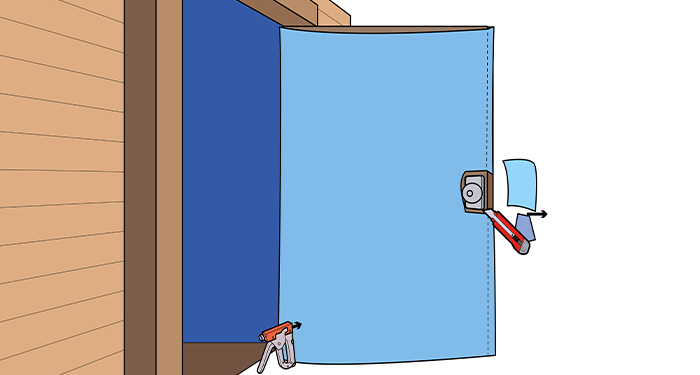
Staple the insulation to the wood rafters on the door. Ensure you staple the top and bottom areas down securely, so you don’t end up with any loose flaps of material. Keep your staples even and sporadic.
You should then take your craft knife and cut around the door handle and lock to remove the excess insulation material.
Step 9
Should you wish to insulate the floor, apply the shed floor insulation and staple down the material straight down to the shed flooring securely.
Once the insulation has been applied, you should now take 25mm or 1 inch wooden batons and space these down evenly over the insulation.
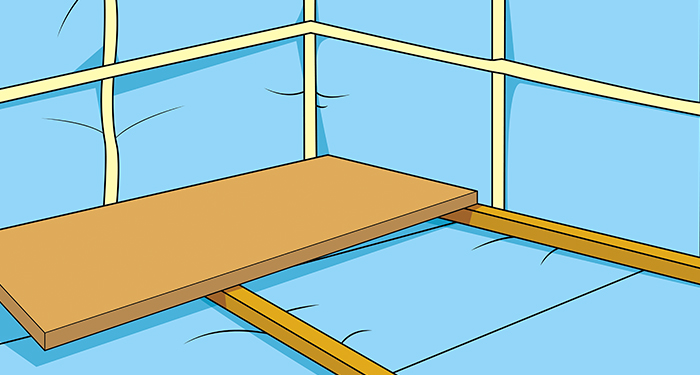
Take a drill and screws to secure the batons. It could be an idea to pre-drill your holes before fixing the screws to the base.
Then add a layer of plyboard over the wooden batons which acts as your floor surface.
The air gap in-between the plasterboard and insulation material creates an air barrier which is effective in protecting and insulating your shed from the moisture and ground below your shed.
Step 10
You should now go around any joints and overlaps with the tape to ensure you are making the most out of your insulation.
You can now decide if you would like to apply plywood to the interior walls to cover the insulation and decorate as you see fit.
We do advise that you don’t apply plywood to the roofing of the shed as covering with plywood does decrease much of the natural lighting within the shed.
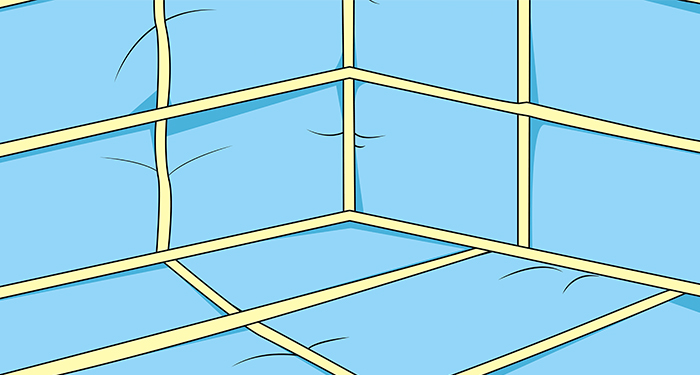
You are now free to enjoy your new insulated shed.
Tools to Insulate a Shed
In order to follow the steps above you will need to have the right tools in order to carry out the job efficiently and correctly.
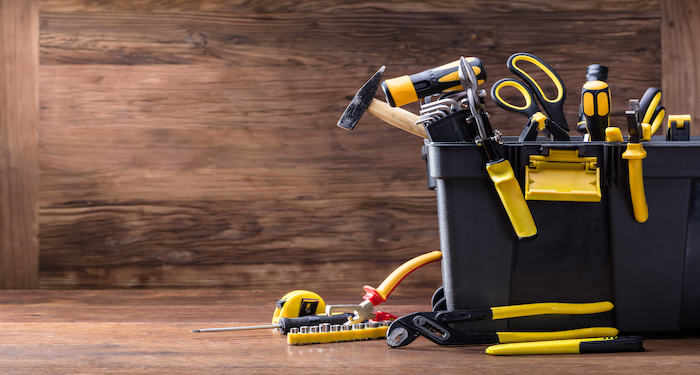
For this task, we recommend you invest in a shed insulation kit which should contain everything you need to insulate your shed.
If you invest in a complete shed kit this includes the following tools:
- Staple gun kit (With staples)
- Insulation fitting knife
You should be able to source these kits from local DIY stores, or consider looking online to purchase.
You may want to also consider getting a dustpan and sweeping brush to clean away any dust and dirt before installing your kit.
Safety Equipment to Insulate a Shed
Luckily insulating a shed isn’t up there with being the most highly dangerous DIY job. However, you are still handing staples and a fitting knife and for this reason it’s important to note the safety risks that come with the task.
You will need to use protective gloves when handling the fitting knife if you are cutting an excess insulation from windows or around edges. Ensure you take extreme caution and use the knife safely.
It is also advised that you have someone to help you when fitting the insulation on your roof, as it may be slightly fiddly to fit and this will allow you to hang it with more precision.
Materials to Insulate a Shed
As well as tools, the pre-packed insulation kits also come with the following materials to insulate a shed:
- ThermaSeal pro tape
- Insulation fitting knife
- Insulation roll
Should you wish to insulate the floor you will also need:
- 25mm wooden batons
- Plywood
How to Prepare to Insulate a Shed
The preparation is fairly simple and straightforward.
Make sure you clear out your shed fully, removing any objects and materials. It is important that you are able to access the walls and roof with ease.
Keep in mind that installing your insulation should take up to an hour, so you needn’t worry about the objects getting damaged, you should be able to remove the objects and place them back into your shed on the same day.
It could also be an idea to check the forecast before, as doing this on a dry day would be much more easier and pleasant.
It is also advised to wipe down the internal timber surfaces of your shed beforehand. Sweep any dust and dirt away using a dustpan and brush.
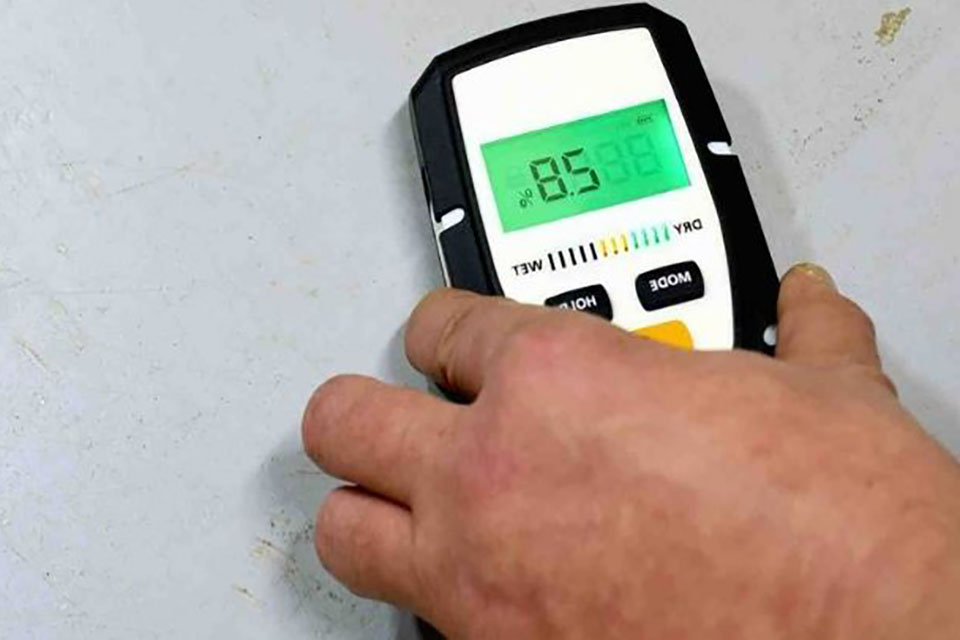
Check the shed and its overall condition, looking out for any gaps or areas of leakage, as they will need to be rectified before insulation begins.
It's also advised to check the windows and door frame to ensure they are secure which will optimise your insulation.
Types of Insulation
Before you dive in at the deep end, you should ensure you have the right type of insulation that's most suitable for your shed, as well as setting a budget and considering how much protection you will need.
Consider the following insulation types:
Bubble wrap/foil
This type of insulation is the most basic and affordable, which is perfect if you are on a bit of a tight budget.
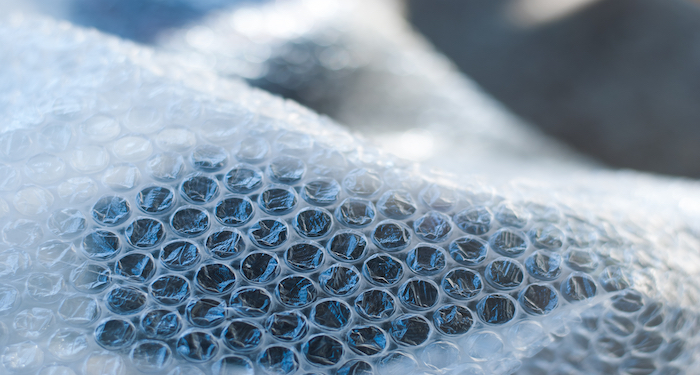
You can get varied types of this insulation ranging from basic, with the higher end products (Euroform/UFoil BDA/ EcoTech) which are more advanced because of the way it is constructed. These branded types are created by using a double foil layer which creates a full moisture barrier.
That is what prevents rising air and dampness. The outer edging is made of aluminum foil and the bubble wrap membrane is located in the centre. This type of insulation provides thermal resistance, is water resistant and will insulate your shed nicely on a budget.
Insulation Boards
These multi-purpose boards could be a simple answer to solving your insulation needs. They come in a range of sizes and can often be cut to size fitting the roof, walls and also flooring of your shed.
Which is ideal if you want half the job doing for you. These boards protect your shed and items in it from the elements and maintain temperature all year round.
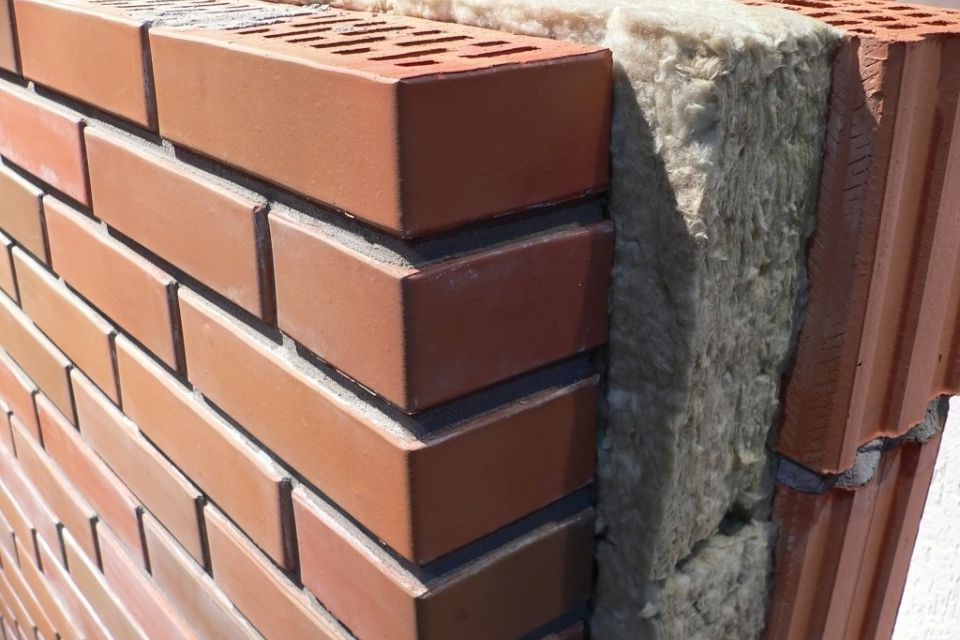
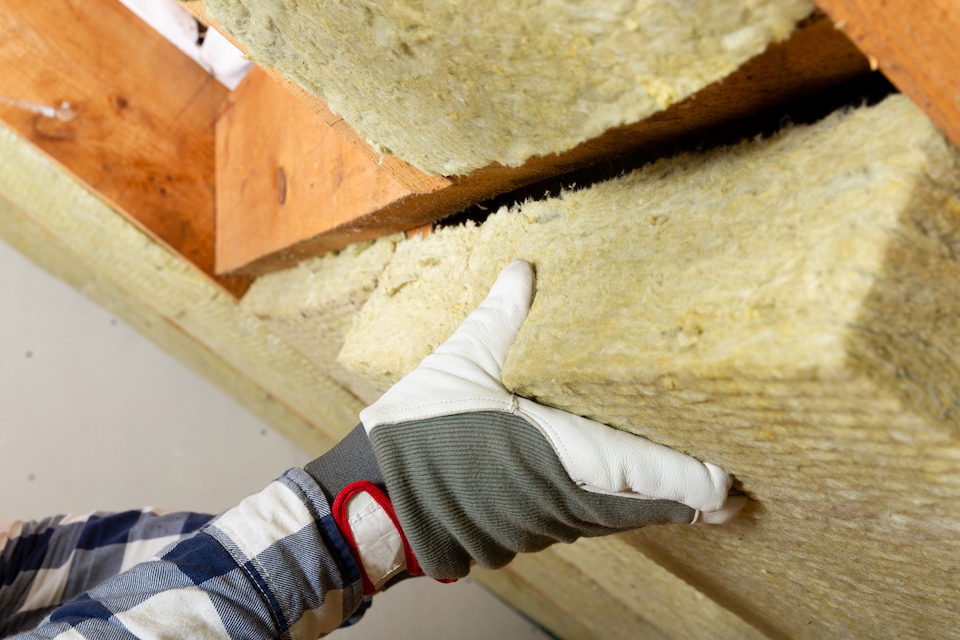
Rockwool
This type of insulation is a cavity insulation, which has some major benefits, including sound insulation, maintains temperature and controls the humidity.
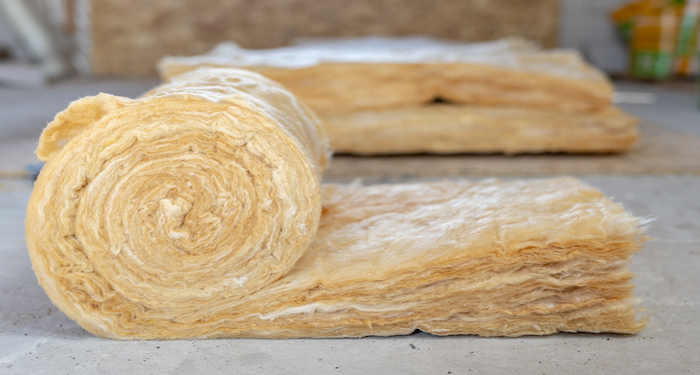
The only downside to this is it can be a messy material to work with, so it's highly advised to use protective glasses and gloves when you are handling this material. It’s highly affordable and lightweight.
To fit this insulation you will need sealant and adhesive. You need to take extra care to seal around prone areas such as door frames and windows.
FAQs
Q: What is the best shed insulation?
A: We recommend Yuzet Shed insulation. This is one of the most popular types of shed insulation in the UK.
It reflects 95% of heat back into the shed space. You will find this type of insulation comes in a range of sizes and is easily installed with a staple gun. Ideal for those of you who are new to DIY.
Q: Do I need a vapour barrier if I insulate my shed?
A: A vapour barrier is a material sheeting which prevents moisture and condensation. You can apply a vapour barrier directly to the timber of your shed.
If you are insulating your shed then you won’t need to use a vapour barrier as this could stop the airflow between the vapour barrier and the insulation which will stop the natural airflow in your shed.
Q: Do all sheds need insulation?
A: It’s important to note that sheds made from metal and plastic are not suitable for shed insulation. They have not been designed for insulation.
Q: Should I leave an air gap when insulating a shed?
A: It is important to leave an air gap when insulating your shed, primarily this applies to the roof insulation.
It’s important that the insulation isn’t secured too tightly as you need to allow air to circulate. Any moisture or damp created in the shed will be able to evaporate. If no air gap is left, the water can build up and mould will form.
Q: Do I need to insulate my shed floor?
A: It is worth considering insulating your shed floor, as heat will still escape through the floor in the cold months.
It is simple to insulate, staple a layer of insulation down to the floor, lay wooden batons and screw into place, then use plywood to act as your floor surface.
Sources
- https://iamcountryside.com/fences-sheds-barns/consider-for-insulated-sheds/
- https://www.gardenbuildingsdirect.co.uk/blog/how-to-insulate-a-shed/
- https://www.shedstore.co.uk/insulating-your-shed-what-you-need-to-know
- https://www.insulationexpress.co.uk/guides/insulation/guide-shed-insulation/
- https://diygarden.co.uk/best-shed-insulation/
- https://www.insulationsuperstore.co.uk/pages/insulating-a-shed.html
- https://www.buyshedsdirect.co.uk/blog/post/shed-insulation-tips/
- https://www.insulationexpress.co.uk/guides/insulation/guide-shed-insulation/
- https://plasticinehouse.com/do-i-need-a-vapor-barrier-in-my-shed/