How to Remove a Radiator Yourself
Central heating systems can be complicated and usually the removal of one is something most people are afraid to do themselves.
Usually the most common cause of removing a radiator is to allow for repainting of a wall or wallpapering. Removing the radiator allows you to change the colour of your walls or add wallpaper with much more ease.
You might think this sounds like an overwhelmingly complicated task, but we are here to put your mind at rest, because removing a radiator is an easy task. Please follow this step-by-step guide on how to remove a radiator safely and correctly:
Step 1
Firstly, you will need to turn the heating off to isolate the radiator to disconnect it from the system. After turning this off, allow the water supply to cool.
You don’t want to be handling a hot radiator, or risk boiling water spilling, which could cause nasty burns. To do this you will need to close the radiator valves. The method of closing the valves depends on the type of radiator you have.
Step 2
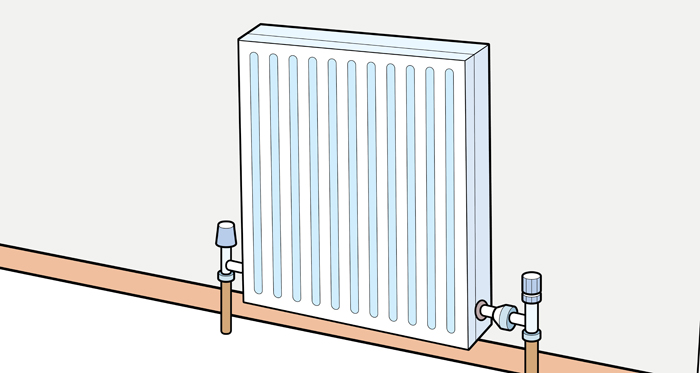
A typical radiator will normally have two valves at each end. You will need to identify the valve correctly and then isolate the flow to the radiator.
Here are some of the most common valves:
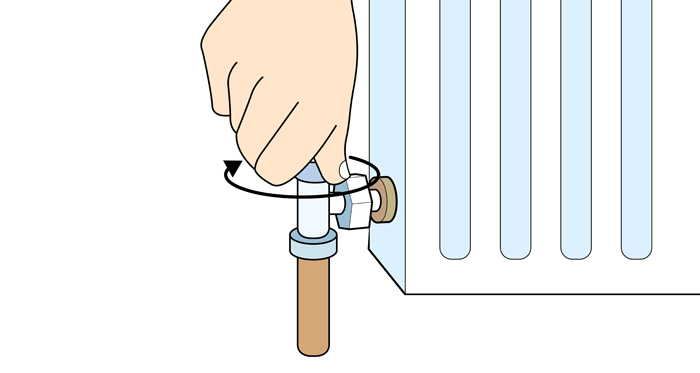
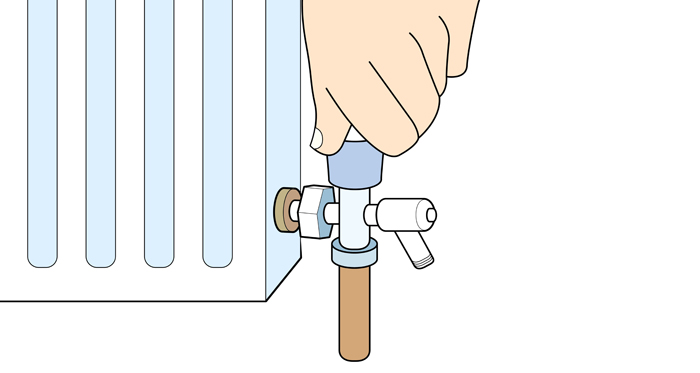
Turn Valve
To close this, you will need to turn them in a clockwise direction (to the right) until it comes to a complete stop.
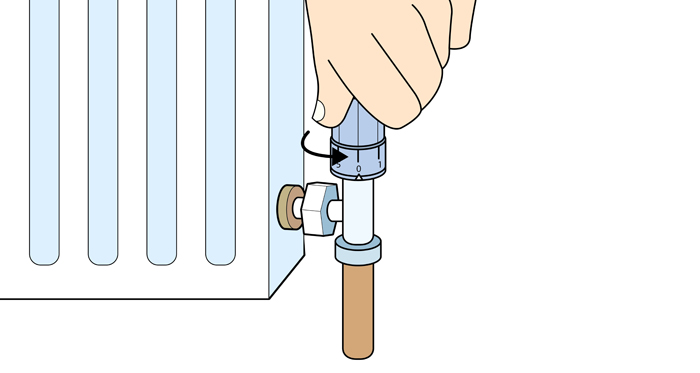
Thermostatic Valve
You will notice this valve has numerical values on the edge. To turn this type of valve off, simply turn this until the numerical value is equal to zero.
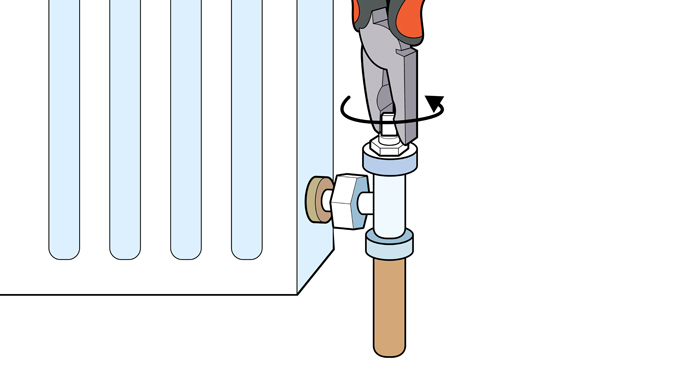
Lockshield Valve
If you have this type of valve you will notice that if you try and turn it, the cap will just spin. Simply pull the top off. Some of these valves have a screw at the top, you can use a Phillips screwdriver to release the cap on the top.
This cap is used to conceal the valve underneath. To turn this off you will need to use pliers. Clamp the top of the valve head with your pliers and twist until it comes to a complete halt.
Step 4
If you are looking for a radiator drain valve, it is usually located on a pipe or valve. It is quite common for heating systems not to have a drain valve or for the valve to have seized up and become completely useless. No need to panic, you just need to ensure you turn off your water supply.
If you have a combi-boiler you won’t need to worry. However, if you have a water-tank, then you can turn your stop-clock off. Please be aware that this will turn your household water supply off completely.
Step 5
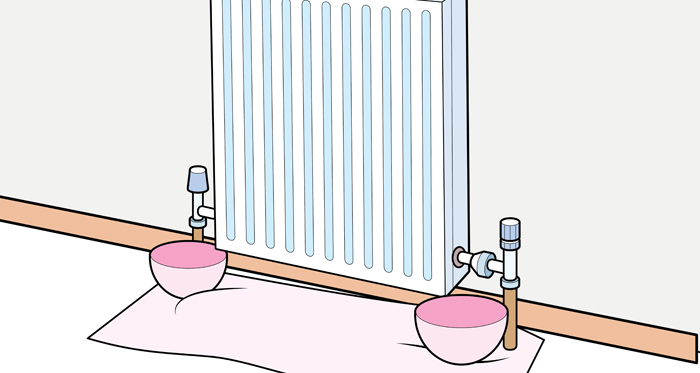
You need to prepare the area before taking a radiator off. To be extra cautious about protecting your flooring, we advise that you put a protective sheet beneath the area of your radiator.
Now, take two large bowls and place them directly underneath the two connecting pipes. This is to catch the water.
Step 6
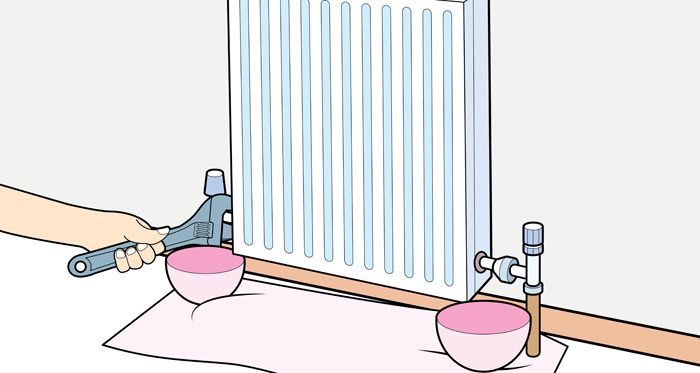
After the water has drained you will need to undo both of the union nuts which connect the valve to your radiator. To do this, use an appropriate size spanner, turn the valve steady and begin to twist the union nut.
When this is done, you may get a little bit of water coming out as the pressure dissipates. You will need to allow the radiator to drain. So use the bowls to catch the excess. It is also recommended that you have towels to hand for any water spray.
Step 7
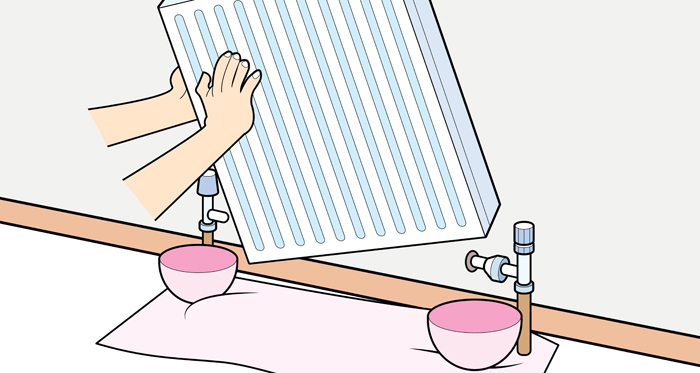
You can now lift and remove the radiator from the wall brackets. You will need to be careful as there could still be water present.
Depending on the size of the radiator you may need to ask someone to assist you with this step. Tilt the radiator and pour the remaining water residue into a bucket.
Step 8
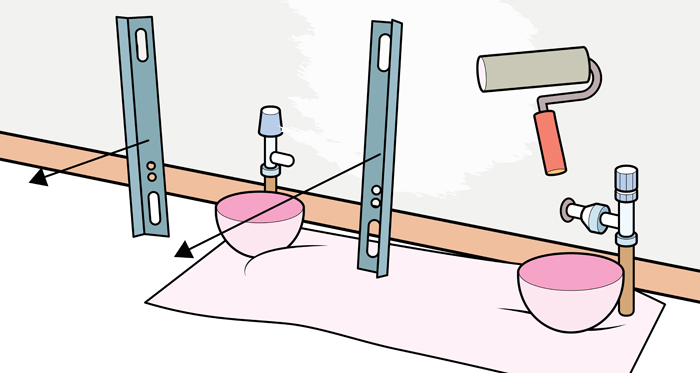
At this stage, we advise that any redecorating is done now. Should you wish to, consider removing your brackets from the wall.
Then leave to dry for the correct amount of time as specified by the manufacturer.
Tools to Remove a Radiator
In order to remove a radiator safely and correctly, it’s important that you have the correct tools to allow you to do so.
We recommend gathering the following:
- A suitable size radiator spanner
- Two large bowls
- A bucket
- Pliers
We also advise using a protective sheet, or plenty of towels underneath the radiator area as there will be some water spillage that’s difficult to avoid. Using sheet underneath will provide added protection to the flooring.
Safety Equipment to Remove a Radiator
When it comes to moving a radiator, you want to ensure you do this as safely as possible. You are dealing with an object full of water and that connects to your boiler.
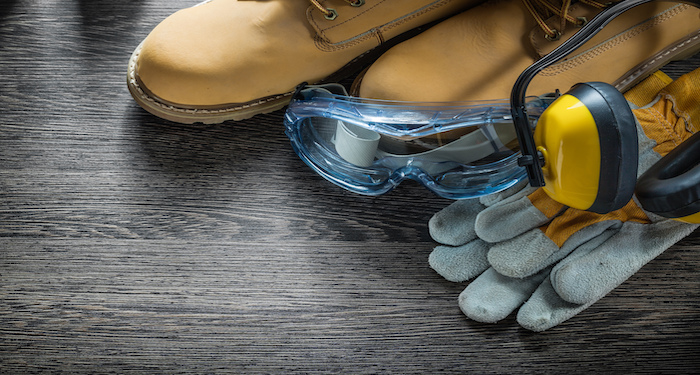
We recommend the following:
- We advise that you wear some old clothing, as water spray can be quite messy.
- You may also want to consider wearing latex gloves and any other personal protective equipment you feel is appropriate.
- When lifting the radiator from the wall, you will need to get someone to assist you as radiators can be heavy.
- Ensure you create a clear pathway in the room. When you remove the radiator you want a clear area to store the radiator.
It is essential when turning off your central heating and water supply that you allow the water to cool. You don’t want to be handling a hot radiator and risk spilling any hot water as this can cause burns and scalding.
How to Prepare for Remove a Radiator
Before you begin the task at hand it is important that you correctly prepare the area. This will ensure the task is done as efficiently and effectively as possible.
- You will need to cover the flooring area beneath the radiator. When loosening the nuts and also when draining the radiator there will be water spray which is unavoidable.
- The water isn’t going to be pleasant in colour, so ensure you wear protective clothing that you don’t mind getting stained.
- You will also need to place buckets or large bowls underneath each valve, one to the left and one to right of the radiator. These will be used to catch the excess water.
FAQs
Q: What’s a TRV?
A: A TRV stands for Thermostatic Radiator Valve. It is a self-regulating valve which means it can adjust the flow depending on the setting.
As you can regulate the settings (usually 0-5) the valve head expands, which adjusts the pin in the valve body, to allow it to open and close.
Q: If I remove a radiator will the rest work?
A: If you are considering not replacing your radiator after disconnecting, then you will need to think about your central heating system.
You could consider joining the two valves together using a pipe. Air will be able to pass through the pipes, however with no bleed valve you would have to balance the air through the other radiators.
This would lead to a re-balance of the central heating system, as if you remove one radiator it will cause unbalance. This will result in some radiators being hotter and colder within your home.
If you replace the radiator with a pipe, you will have to consider covering the pipe as it will get extremely hot. However you can also consider re-routing the pipework, and also removing the valves and that section of the pipework. You will need to consult a professional regarding this.
Q: Do you need to turn the water supply off to remove a radiator?
A: You only need to turn the whole water supply off if you have a drain off valve. You would need to drain the whole system before replacing the drain off valve.
If you have a TRV valve or lockshield valve then you can isolate the radiator by turning the valves off (clockwise).
Q: What are the two valves on a radiator?
A: Each radiator will have two valves, one which has a larger (tap like) head, this is usually a TRV valve, and one which is a smaller valve, usually a lock shield valve.
You can adjust this valve by twisting the protective cap off, then using pliers you can safely twist the valve to shut the supply on or off.
Q: How long does it take to remove a radiator?
A: Like any DIY task, timing varies from person to person, and this can depend on multiple factors, the biggest one being a person's previous experience and also skillset. We would estimate this takes around 30minutes to an hour.
Sources
- https://www.onlyradiators.co.uk/blog/buying-guides/thermostatic-valve-guide
- https://www.parkstone-yorkshire.co.uk/remove-radiators-to-decorate/
- https://www.youtube.com/watch?v=wNoqRAc4DmM
- http://www.judgeelectrical.co.uk/central-heating/radiators/how-to-remove-a-radiator.html
- http://www.diybasics.co.uk/removing-radiator-drain-whole-system.html
- http://www.plumbteamltd.co.uk/air.html
- https://www.telegraph.co.uk/finance/property/9661494/How-do-I-balance-a-radiator-circuit.html