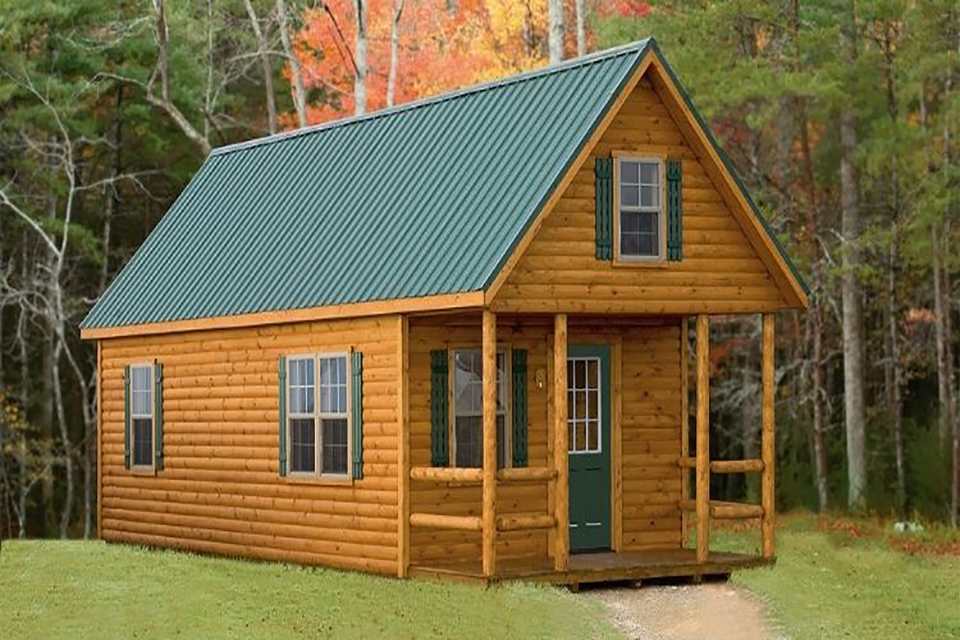
Why Should I Build a Log Cabin?
A log cabin is great because it provides additional space for leisure aside from your home. Timber provides good thermal insulation, so you won’t need to worry too much about expensive heating bills in a log cabin.
They also have a long lifespan and provide an area of peace and quiet away from the hustle and bustle of your home.
How to Build a Log Cabin Yourself
Below is a step-by-step guide on how to build a log cabin:
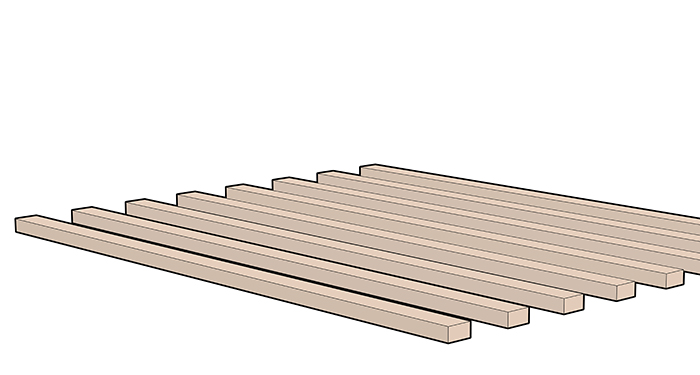
Step 1:
For floorless models, place the bearers on the ground to form a square. Make sure they are at an equal diagonal distance and that they are even and level. Your bearers should be placed in rows with 50cm between each one.
Your construction kit should come with the relevant pieces to build a square over your bearers. Each log cabin construction kit is different, so always make sure you check your manufacturer’s instructions as you go along.
Step 2:
Fix the bearers to each other and screw them to the ground using anchor screws. Do this by using your electric screwdriver.
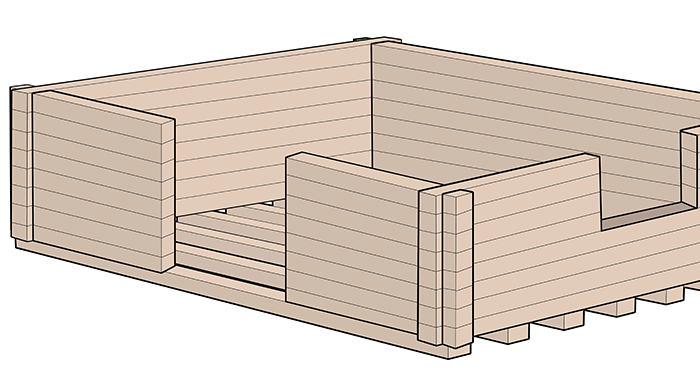
Step 3:
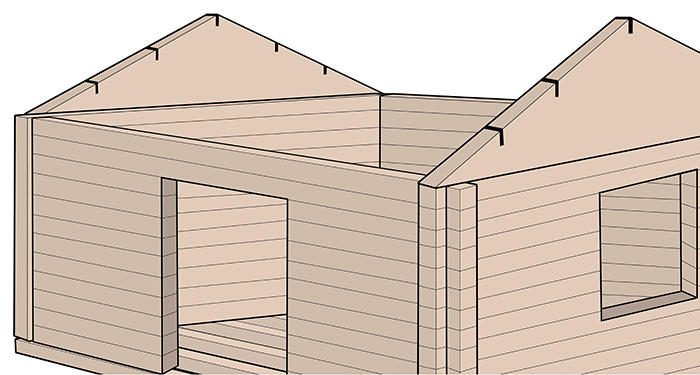
You can then assemble your walls on top of your bearers. Each wall piece will have grooves in it so that the pieces of wood interlock. Screw the first layer of wall pieces to the bearers. Then, continue building all four of the walls. Use a rubber hammer to ensure all of the pieces of wood are completely interlocked before moving onto the next piece.
Step 4:
Place the roof frame triangles. Keep in mind that every roof frame triangle should be mounted as a whole structure. Follow the manufacturer’s instructions to ensure that you are constructing the roof parts properly.
Step 5:
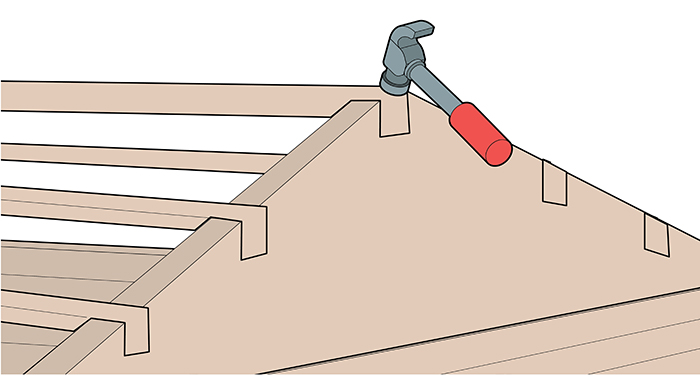
Now you want to connect the rafters. Each rafter is connected to the mounting place in the middle of each triangle. Use your rubber mallet to ensure they are completely connected.

Step 6:
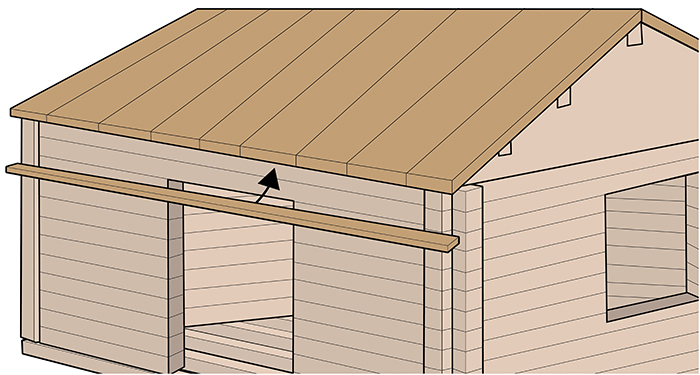
Next, fix the roof boards to the rafters with nails. Hammer two nails in each of the mounting plates. Ensure that the ends of the boards are perfectly parallel with each other.
Step 7:
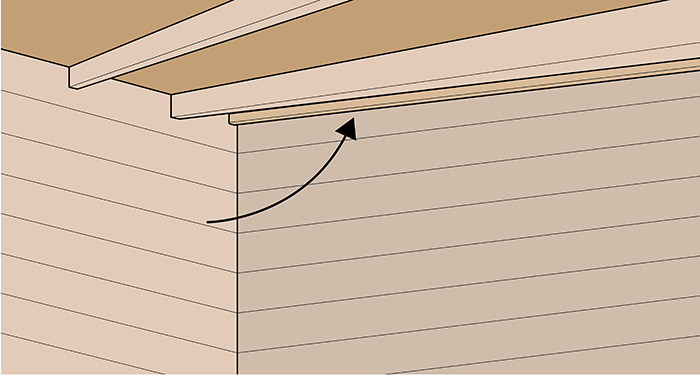
Once you’ve completed the above step, attach and fix the roof plank border to the roof boards and screw the roof plank to the roof plank border.

Step 8:
Next, screw the wind boards on top of each other. Be sure to continue following the manufacturer’s guide for every step as it may differ slightly from these instructions.
Step 9:
Attach the wind boards to the roof frame triangles.
Step 10:
Evenly place the support trims on the doorframe and screw them into position.
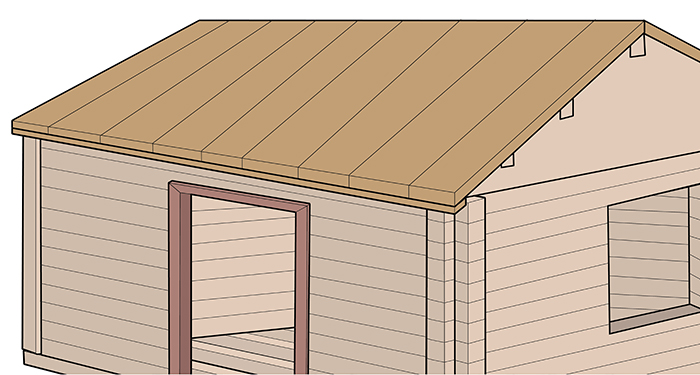
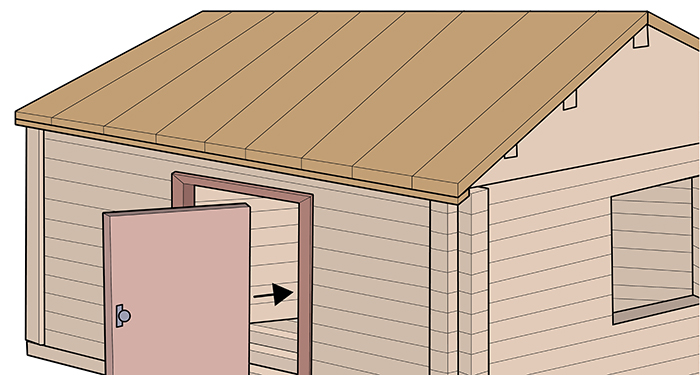
Step 11:
Once you’ve completed one side of the door frame, insert the door into place on your cabin. Attach the rest of the door support trims to the door frame and screw them in. Keep in mind that the door support trims must be screwed into the door frame and not the wallboards.
Step 12:
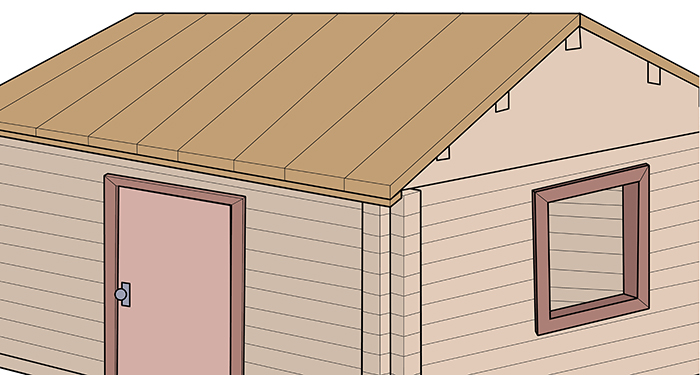
Place the support trim on the window frame and screw them into place exactly the same way as the door.
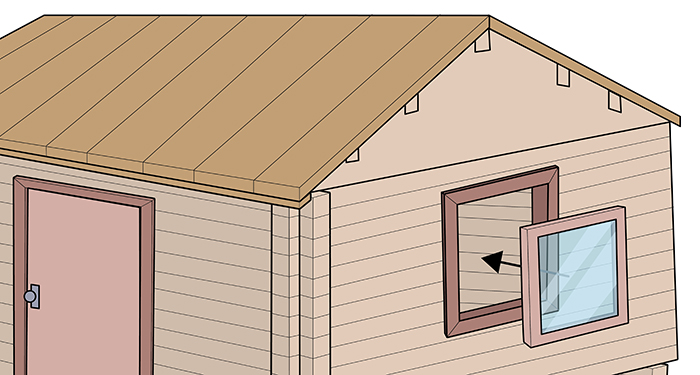
Step 13:
Once you’ve completed this, insert the window frame into place, attach the rest of the window support trims to the window frame, and screw them into place.
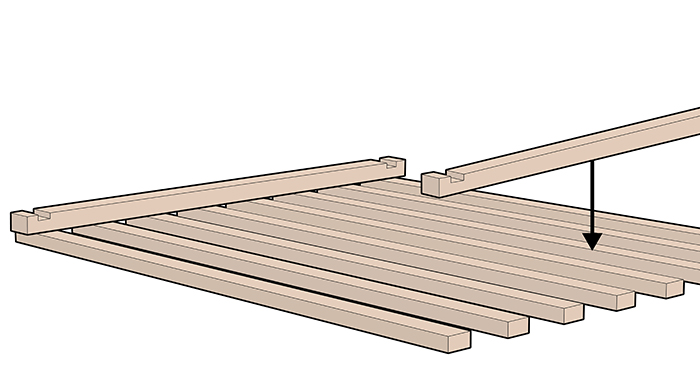
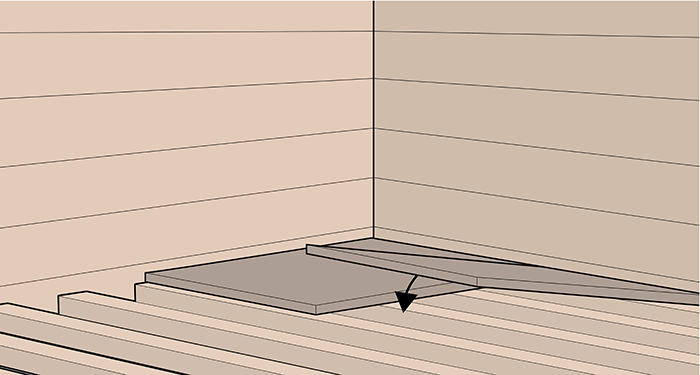
Step 14:
If you are placing a floor in your log cabin, you can now begin to install this. Place the floorboards on the bearers and nail or screw them into place at an angle.
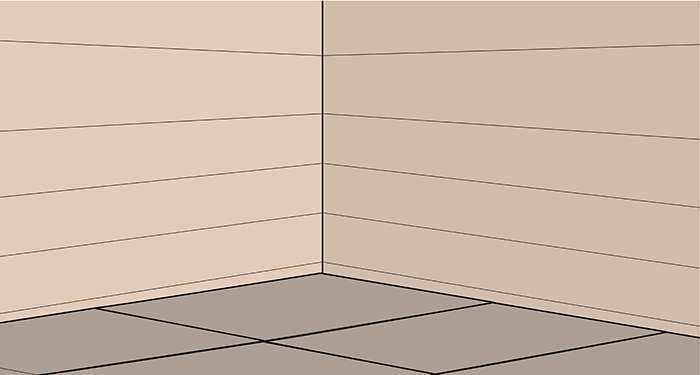
Step 15:
Then, attach and screw the floor trims into the floorboards to keep them in place and secure them.
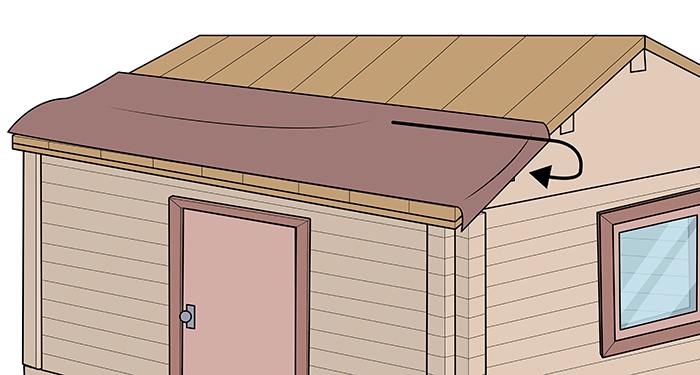
Step 16:
Once the whole structure has been built and treated, you can then add your felt roof. Do this by nailing the felt pieces to the roof. Once your roof has been fitted, your log cabin construction is complete.
Tools to Build a Log Cabin
- Spirit level
- Electric screwdriver
- Metal hammer
- Rubber hammer
Safety Equipment to Build a Log Cabin
It is recommended that you wear builder’s gloves when assembling the wood to avoid splinters. You should also have someone else on hand to assist you with the trickier parts, such as assembling the roof.
Materials to Build a Log Cabin
- Log cabin construction kit (wood, nails, screws etc.)
- Anchor screws
- Nails
How to Prepare for Building a Log Cabin
Below is a list of the steps that you will need to take to prepare for building a log cabin:
- Ensure that the ground you are building on is level using a spirit level before you start the construction.
- Once your log cabin construction kit has been delivered, you should check it all over to ensure that all of the pieces and components are present. Check your manual to ensure that every piece listed is present before you start to build.
- Before starting the construction, it’s a good idea to sort out the parts for your convenience.
Types of Log Cabin
Below is a list of the types of log cabin and some information on each type:
Full Scribe Log Cabin
A full scribe log cabin is a traditional type of cabin where the logs are stacked horizontally to complete the walls.
All of the logs will have a hand-cut groove underneath so that they can fit securely to the log below them.
This type of log cabin is extremely energy-efficient and keeps heat in well. The physical mass of this type of log cabin can withstand all forms of weather.
This is considered to be the best log cabin type as it is more traditional, easy to construct, and offers great thermal insulation.
Post and Beam Log Cabin
Post and beam log cabins use full logs as beams to support the home, providing a natural log surface both inside and outside the cabin.
This type of cabin requires fewer logs for the build compared to a full scribe cabin. This makes this type of cabin more cost-effective than other types.
A post and beam log cabin consists of several vertical logs that hold large horizontal logs in place.
The logs are then filled with conventionally framed walls, straw bales, or cinderblocks.
FAQs
Q: Can you build a log cabin from trees?
A: It is entirely possible to build a log cabin using trees from your own land. It is best to cut trees during the wintertime as this will result in less cracks and splits.
You should be careful when cutting trees down and always use appropriate safety equipment when doing so.
It would be best if you waited for the tree logs to dry before you start building your cabin, so ensure you have somewhere to store them during this process.
Q: How long will a log cabin last?
A: A well-built log cabin can last hundreds of years. This means that your grandchildren could essentially inherit your log cabin.
Q: What planning permission or building regulations apply to log cabins?
A: Log cabins are termed as outbuildings, so the planning permission and building regulations for outbuildings will apply to your log cabin. For more information, you can contact your local council for advice.
Q: What can I use a log cabin for?
A: The answers to this are endless as you can generally use your log cabin however you want. Below is a list of some ideas for inspiration:
- Playroom
- Office
- Gym
- Workshop
- Lounge
Q: What type of wood is best for log cabins?
A: There is no particular best wood for building log cabins. Below is a list of woods that are great for building log cabins:
- Oak
- Englemann Spruce
- Douglass Fir
- Lodgepole
Sources
- https://www.youtube.com/watch?v=f4XiMwmXLmo
- https://www.logcabinhub.com/build-a-log-cabin-using-trees
- https://www.artisanloghomes.com/log-homes-101/what-are-the-differences-between-a-full-scribe-log-home-post-beam-timber-frame-and-hybrid-log-homes
- https://www.youtube.com/watch?v=k9kK04ZBp0o